


Palo’s Leads to Calls Campaign Setup
Please fill out the survey below to get started.
Requirements for getting started
- Be sure that you’re approved for the leads-to-calls program before filling out this survey. Not approved or don’t know? See the FAQ below.
- Make sure that you’ve been approved on an offer and you have a promo number.
- Make sure that your landing page is ready. You’ll need a landing page URL to complete the survey.
[content_container max_width=’600′ align=’center’]
Get Started – Leads to Calls Campaign Setup:
[formidable id=6]
[/content_container]
FAQ
- What Happens After I submit the form? Your form data gets pushed over to the setup team, and they will begin building out your campaign.
- How long does the campaign take to setup? Setup takes 3-5 business days to complete.
- What should I do next? Wait for us to send you your API tokens. Our team will provide you a set of API tokens that will look something like this:
[content_container max_width=’500′ align=’center’]
Project – 35DF6ECE-BC67-418E-8B83-03DDF5974244
Source – 30C9A5CD-751D-4CC0-A762-F97A7A6AD645
DNC – 8723B44A-18A8-4231-A02F-0527A43136J9[/content_container] - How do I get approved for the leads to calls program? Fill out the application here.
- I filled out the Palomobile.com/leads form already. Am I approved? Not yet. Unless someone has reached out to you already. If you havent heard from us, then please reach out via email. You can use the contact form at the bottom of this page.
Part 1 – Setting up your lead form using Zapier and Formidable Forms Pro
[content_container max_width=’800′ align=’center’]
In this example, I went ahead and created a dummy drips form using the WordPress plugin Formidable Forms Pro. You’ll need to purchase a site license and the zapier add-on to get this approach off the ground.
[thrive_custom_box title=”Developers” style=”light” type=”color” color=”#dd9933″ border=”#000000″]Here’s DRIPS API documentation for you.[/thrive_custom_box]
It also helps to have a form setup in advance, prior to moving through the drips API setup processes that I show below.
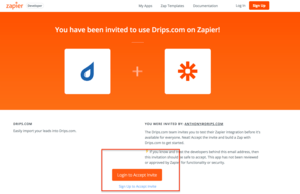
1. Click Here to Accept the Drips.Com on Zapier Zap invite.
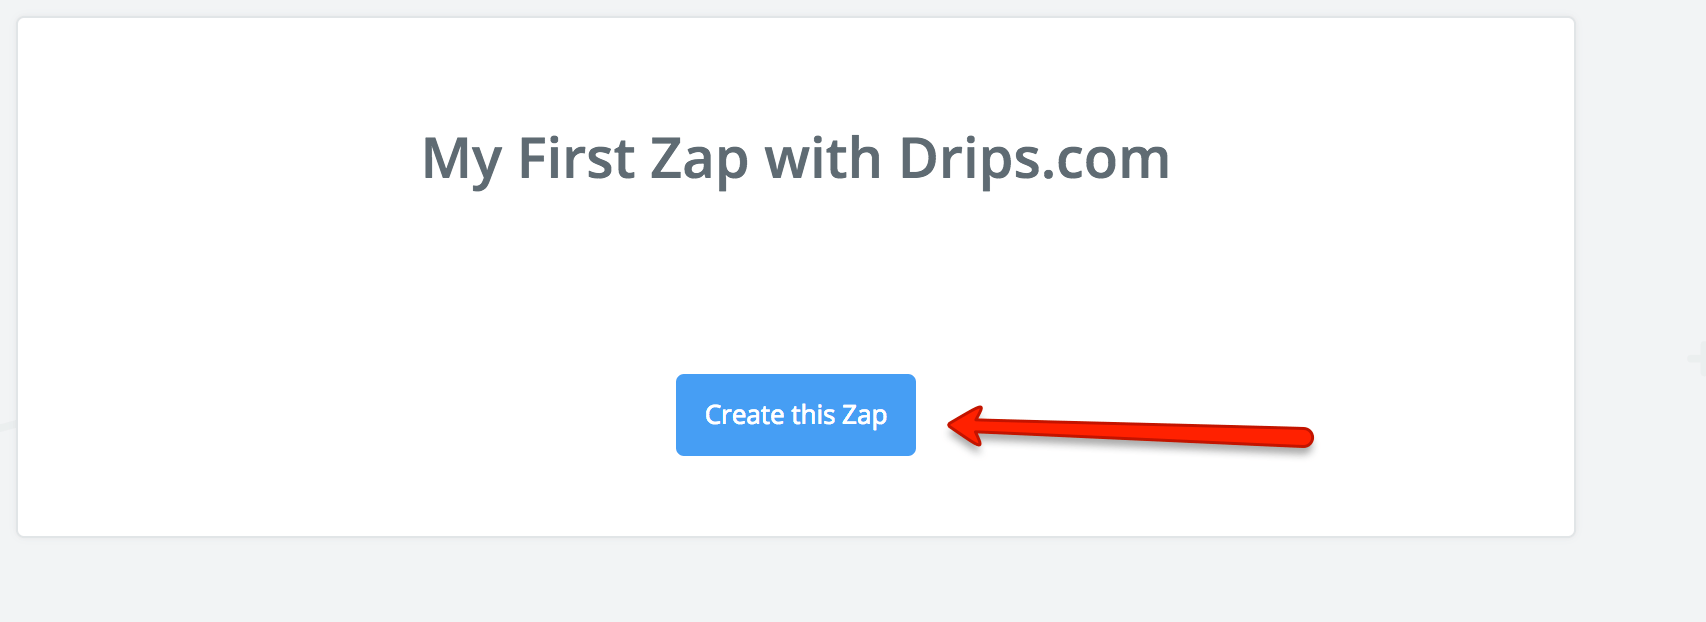
2. Create the Zap
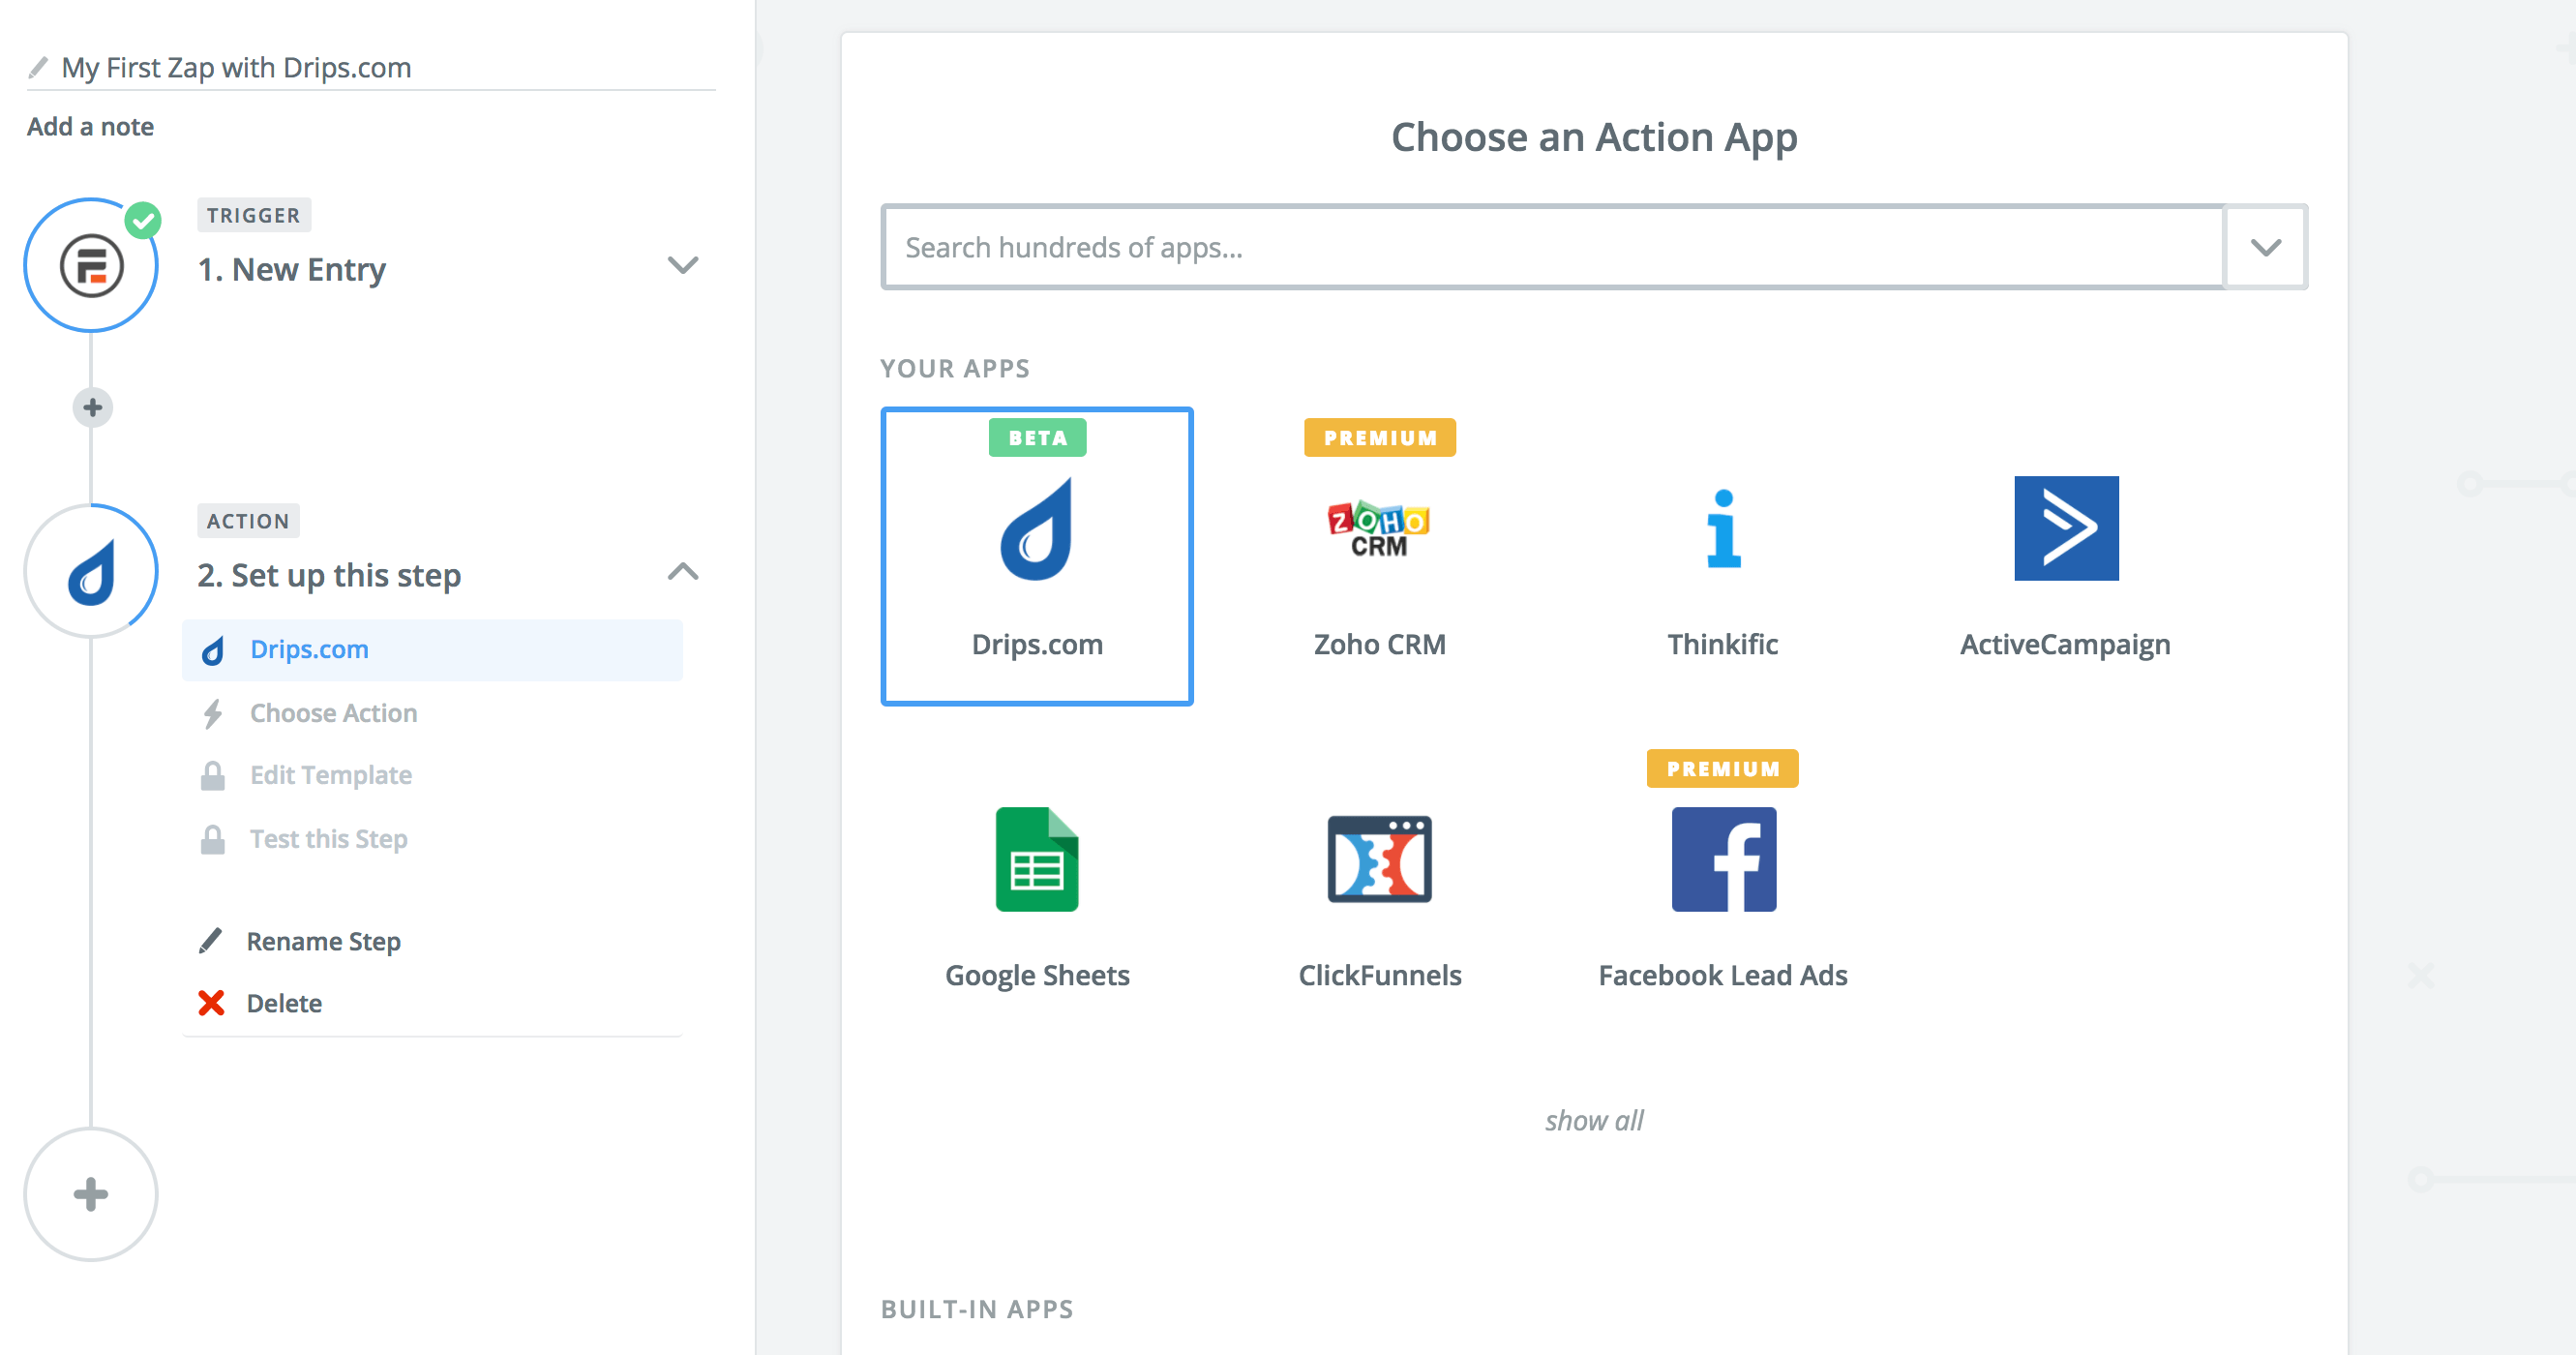
3. I have formidable forms pro setup on my WordPress blog, so I will use formidable.
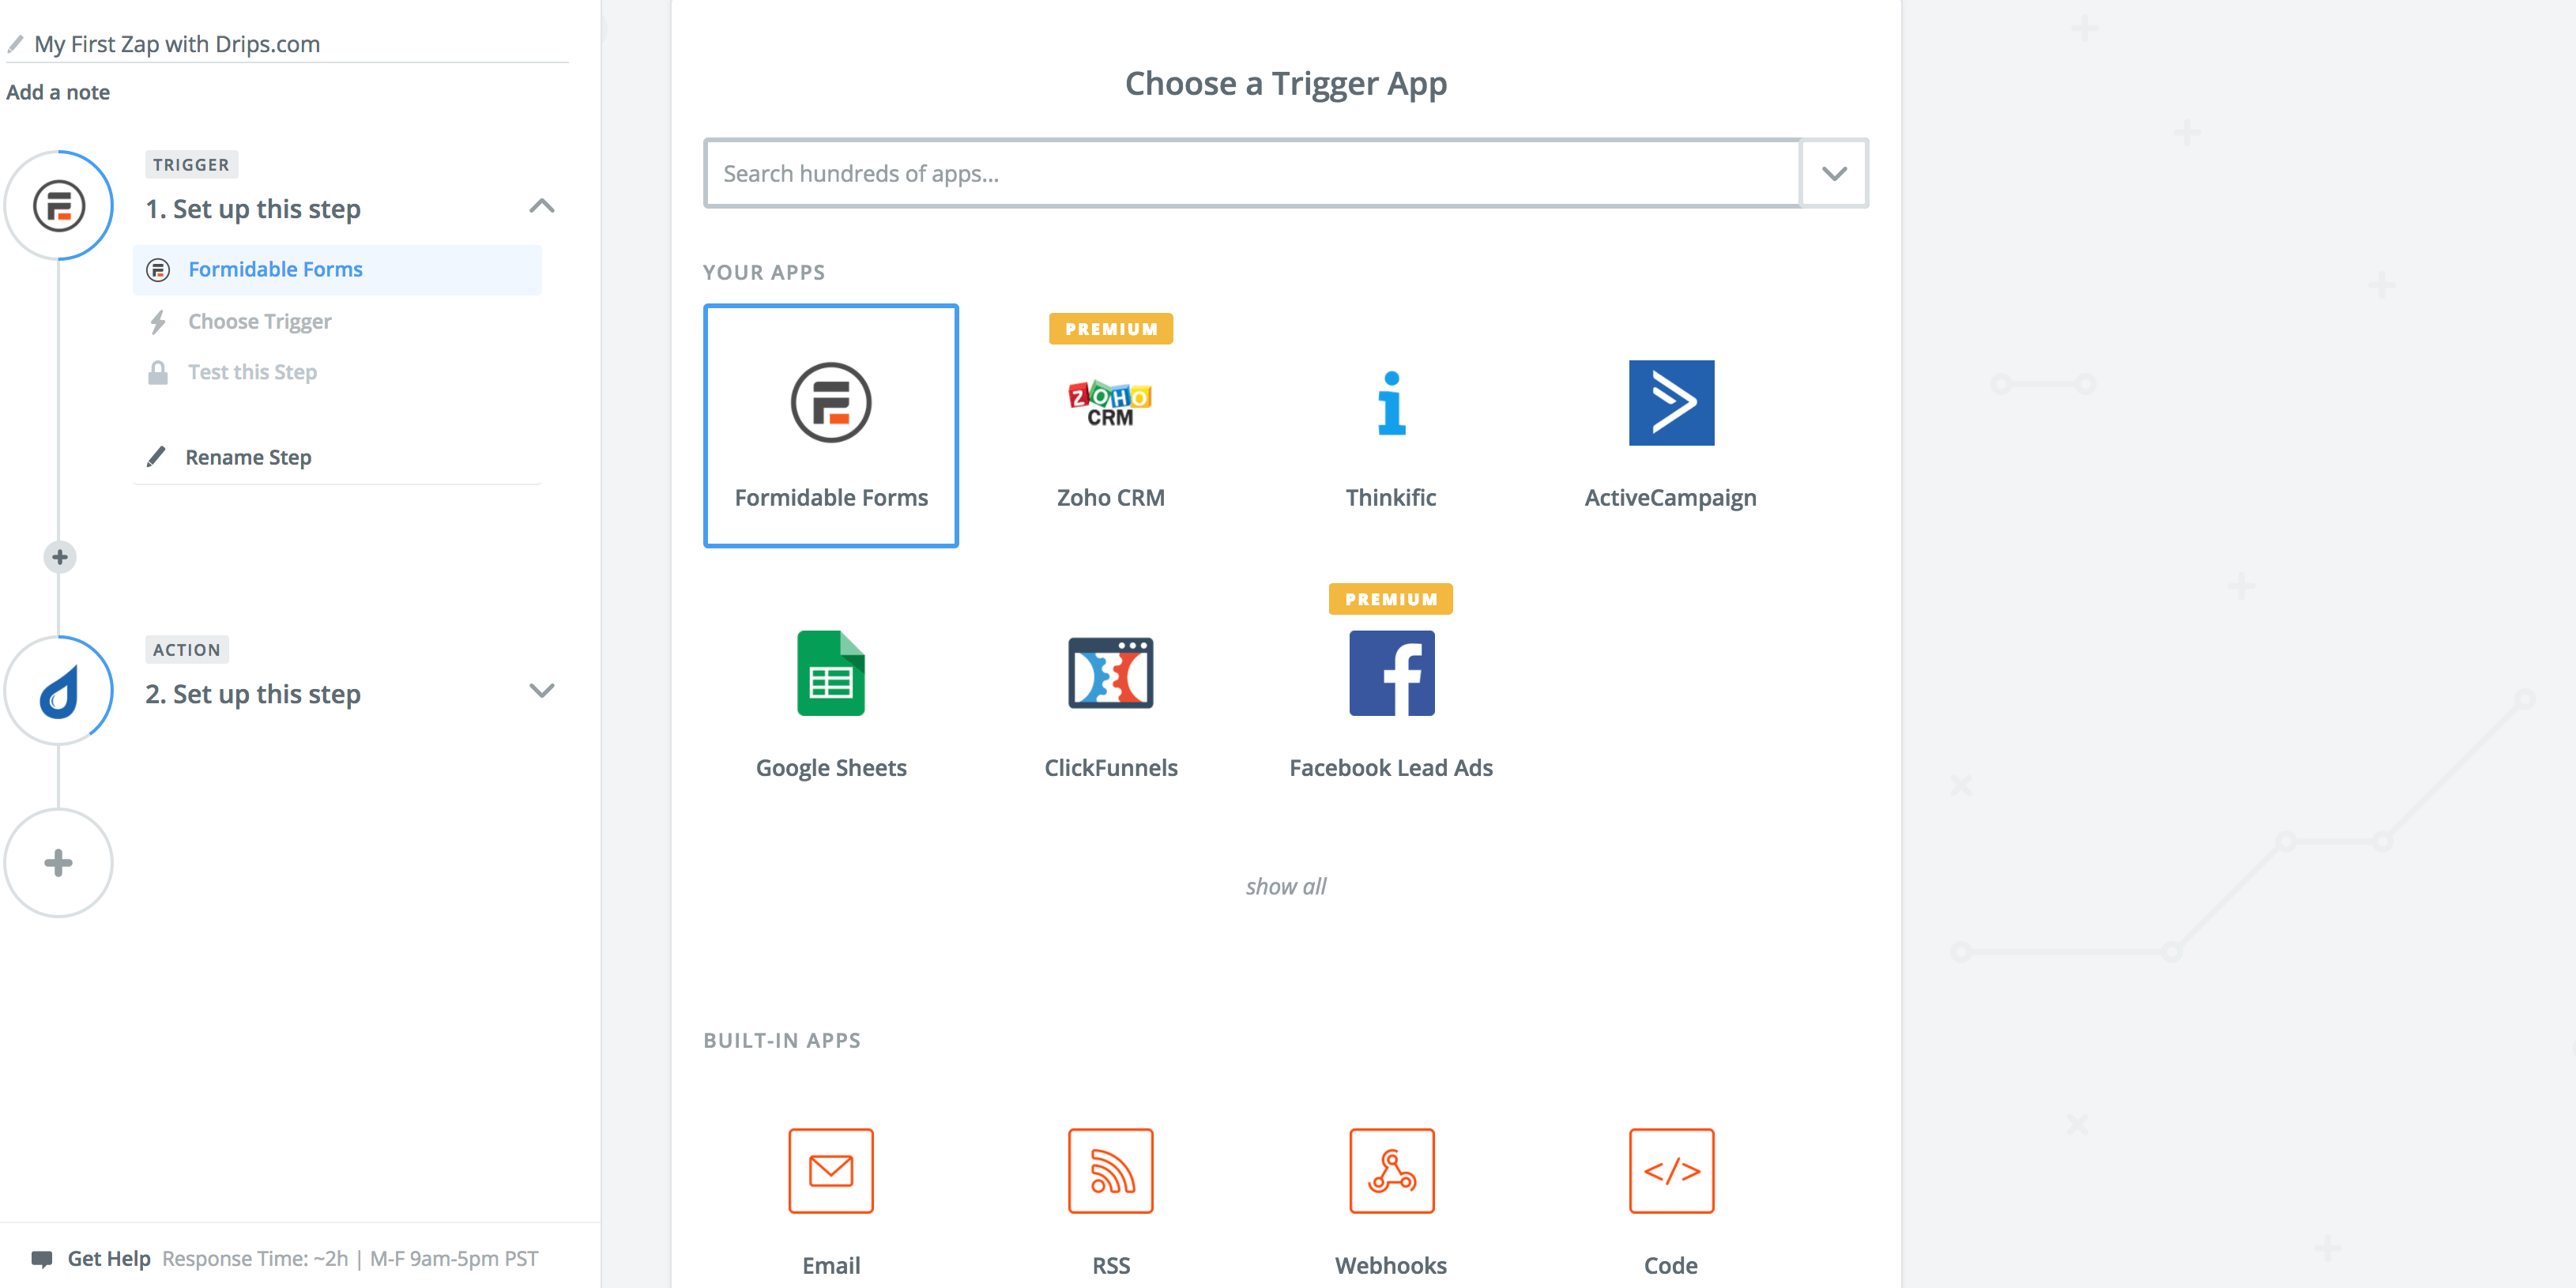 4. Proceed by following the instructions on the page.
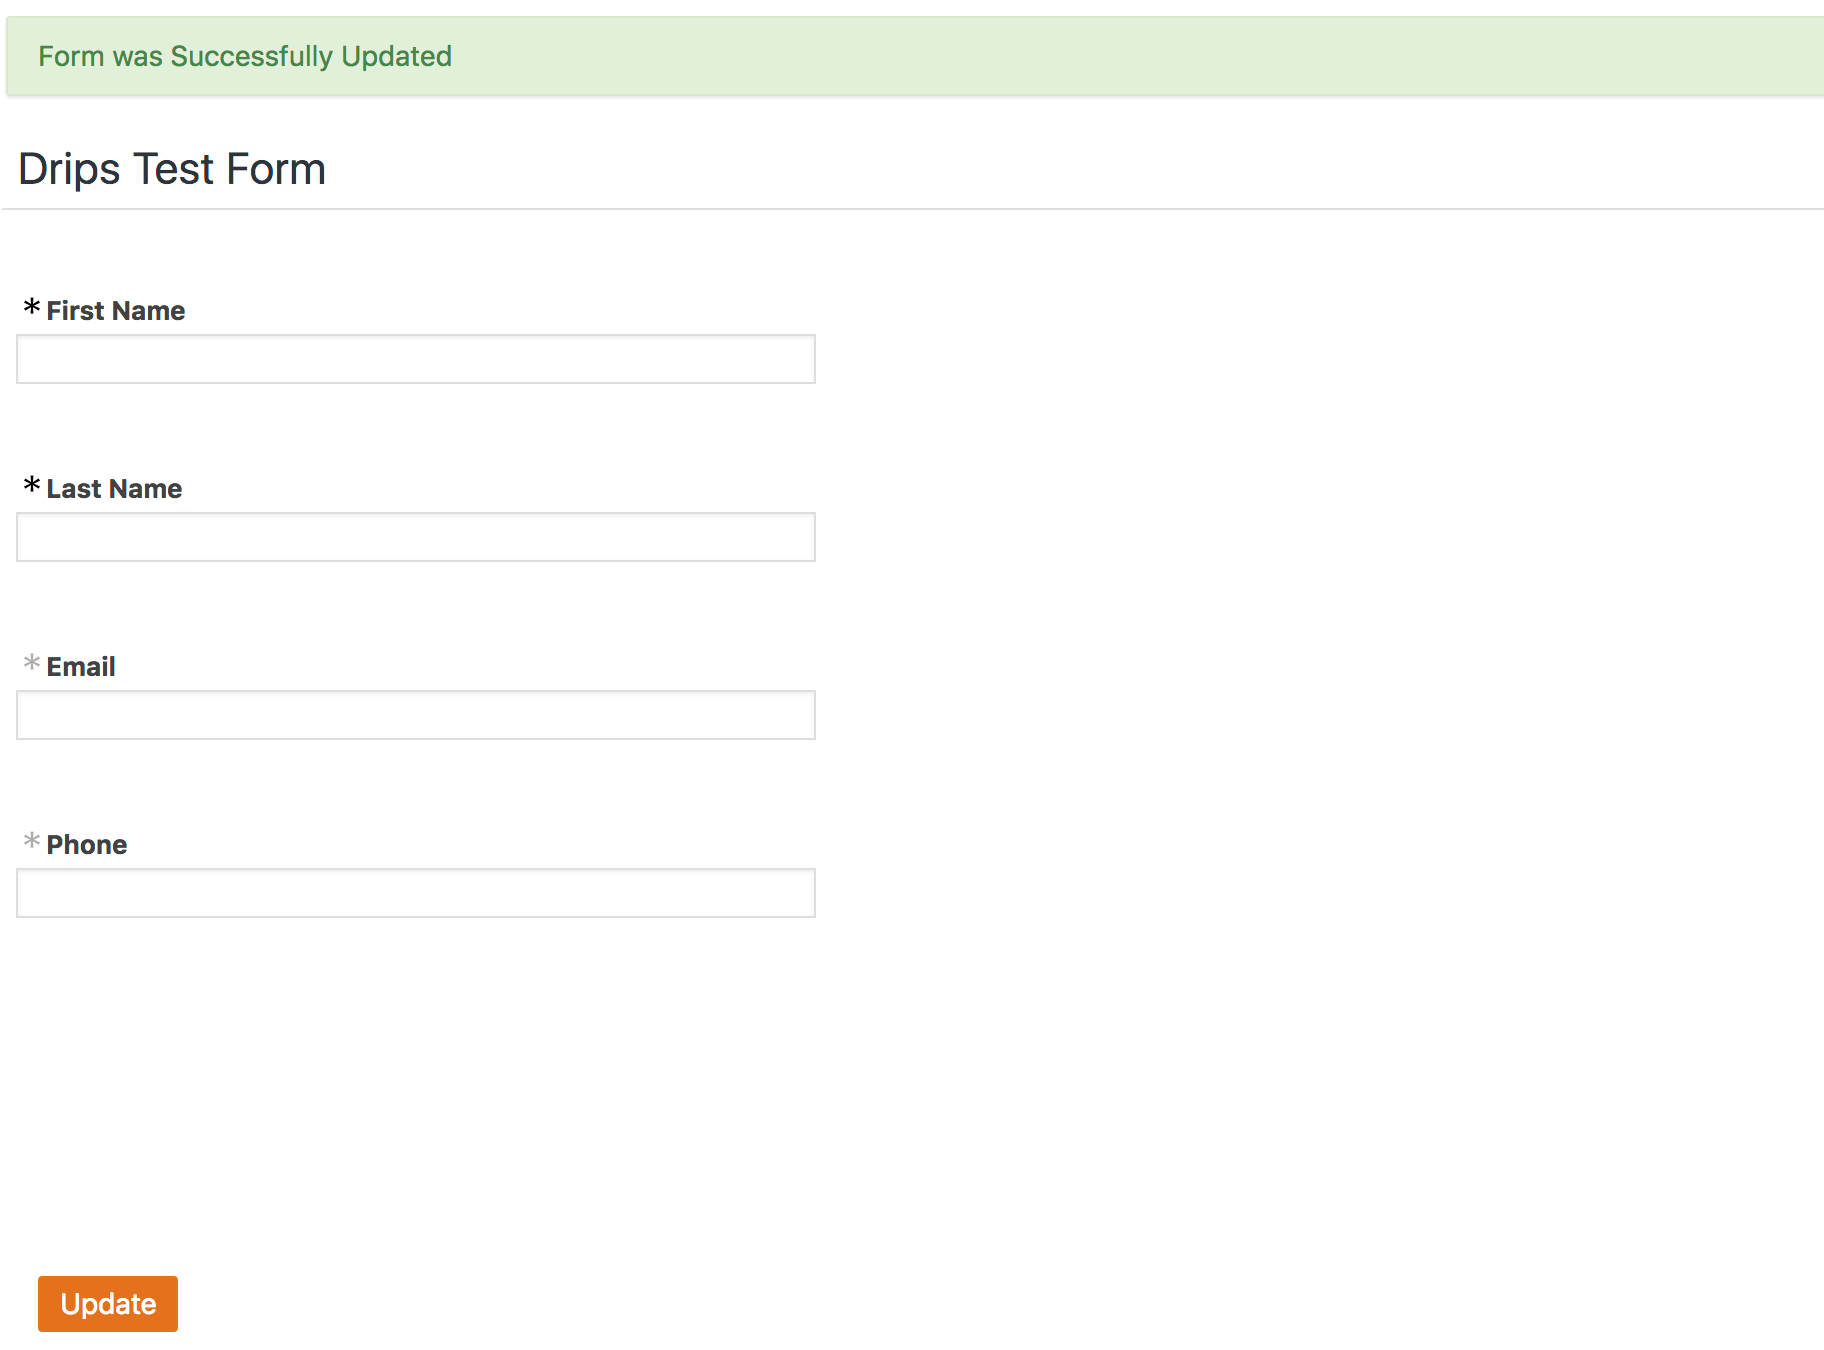
[thrive_text_block color=”blue” headline=”Drips Form – What’s Required”]The basic information required to satisfy DRIPS is: first name, last name, email address, phone number. I created a simple drips form ahead of this demo. See the page with form, here. [/thrive_text_block]
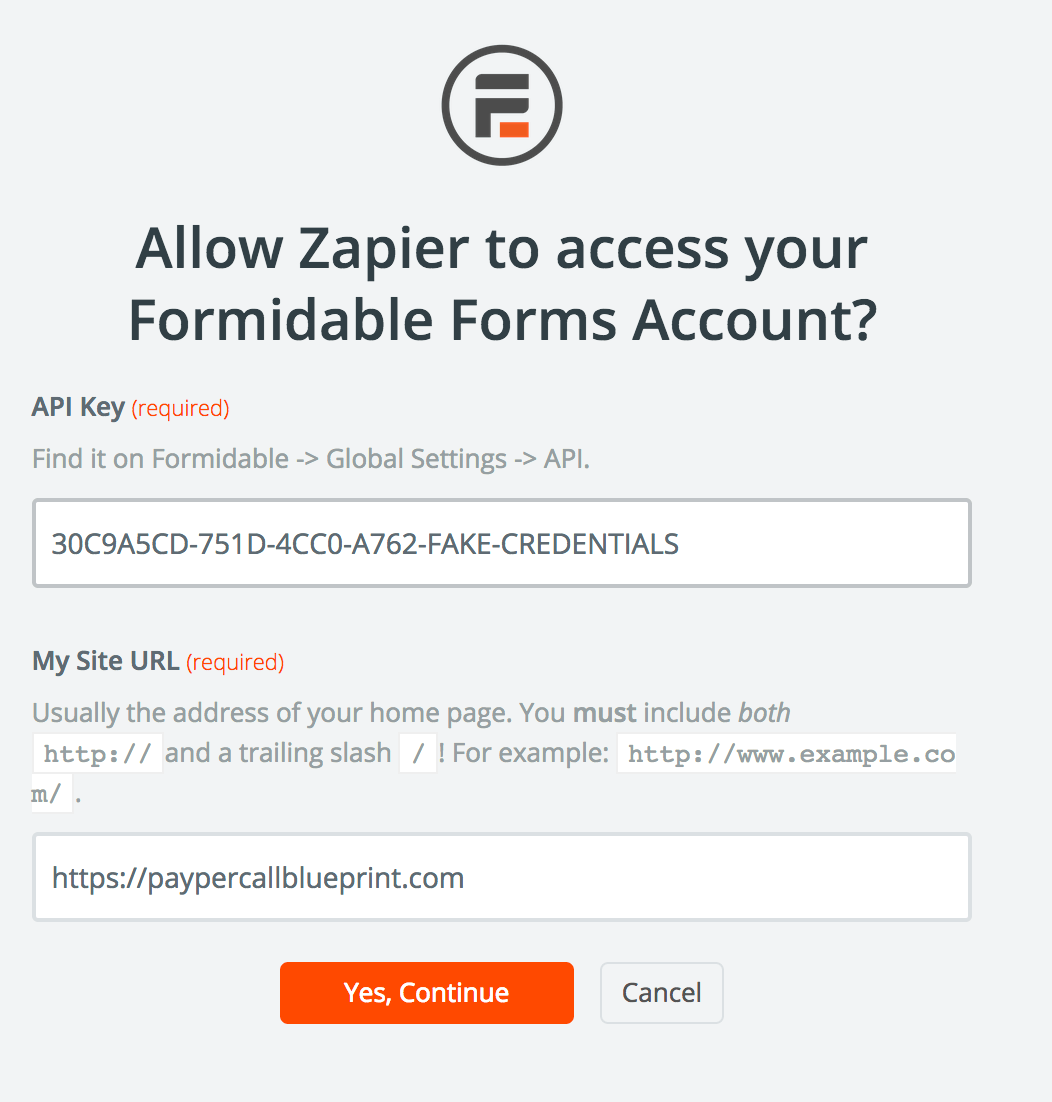
[thrive_text_block color=”blue” headline=”Formidable Forms Pro Setup“]You’ll need to go through the Formidable Forms Pro setup process the first time. Make sure you’ve purchased and installed the formidable forms pro zapier addon.[/thrive_text_block]
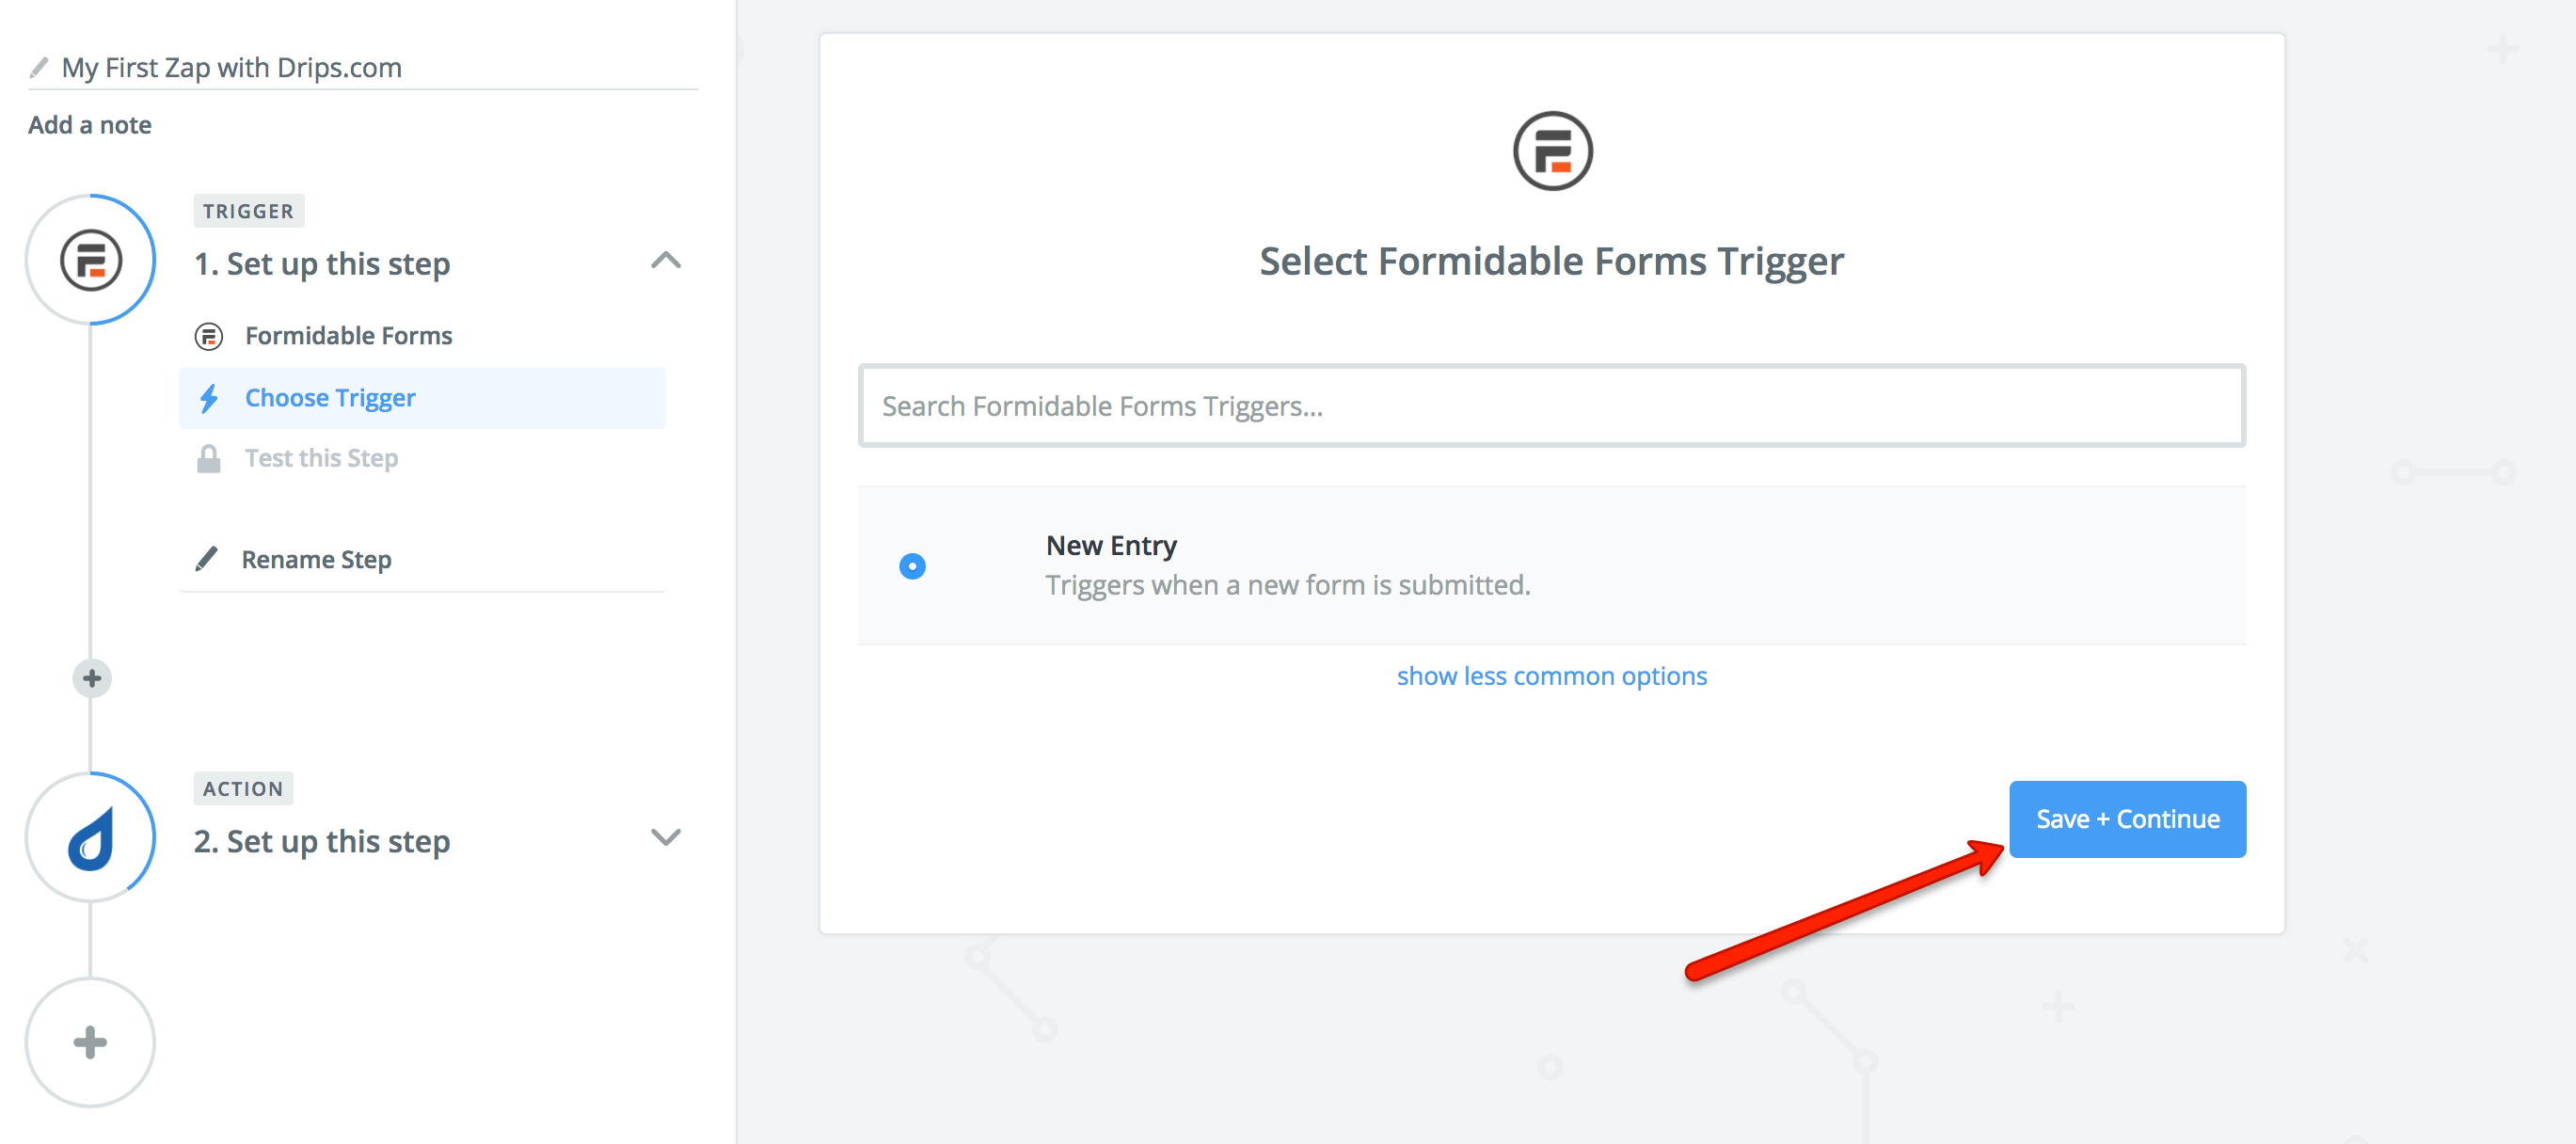
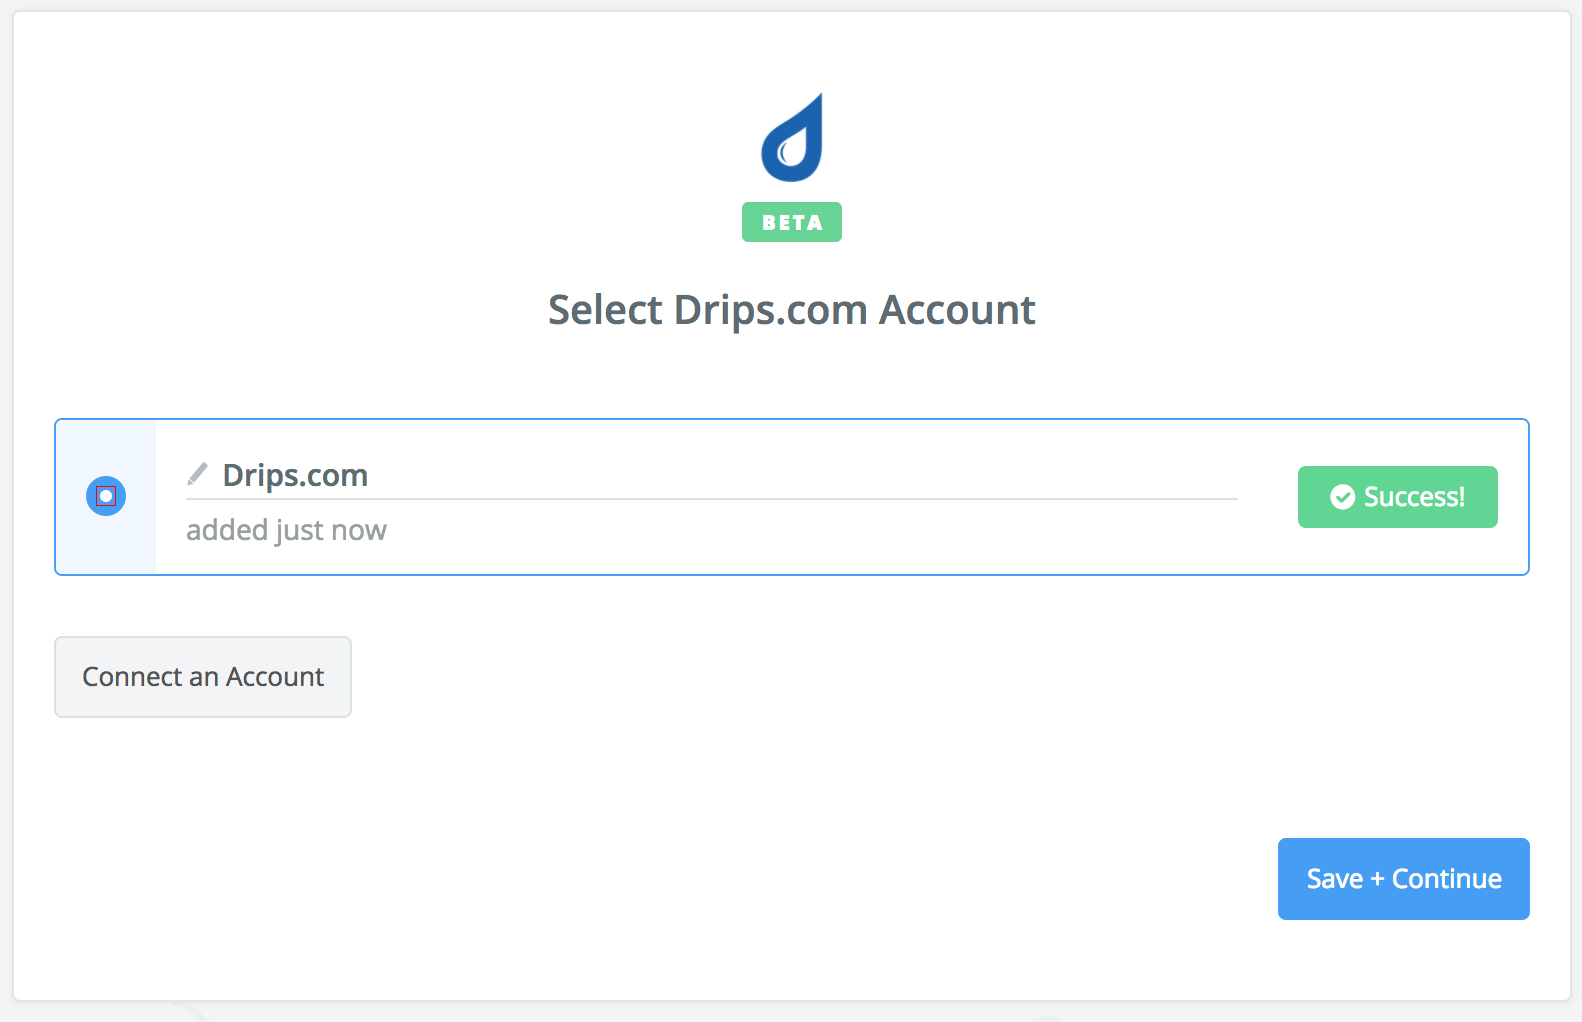
Once you’ve got your plugin firing on all cylinders then you should see a success message.

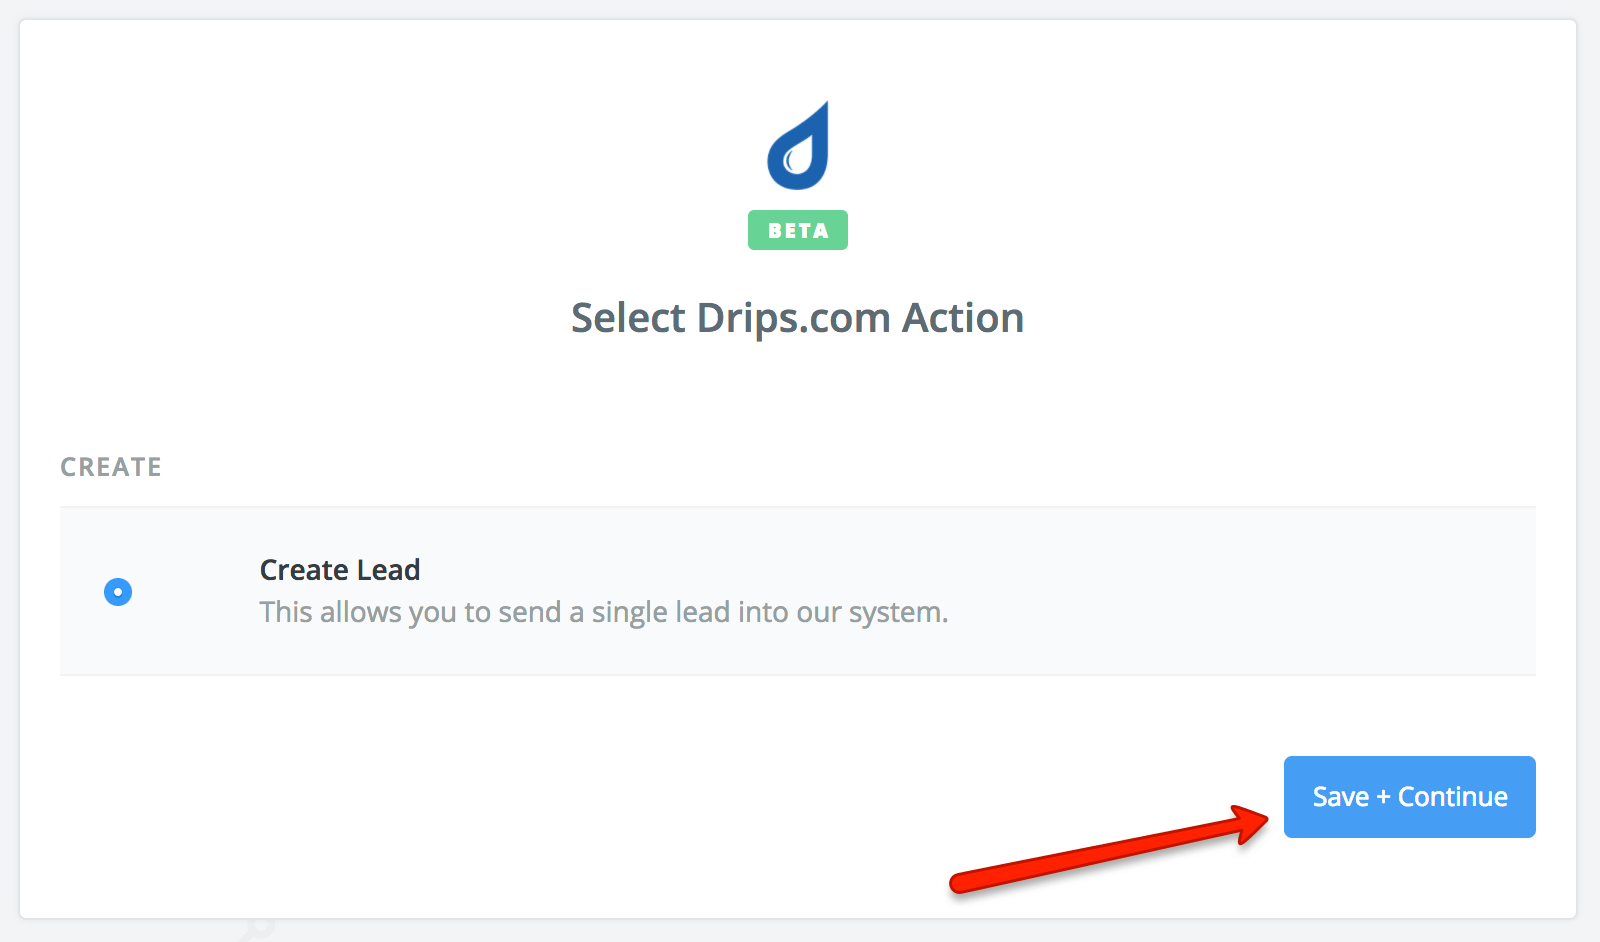
5. Click Save + Continue
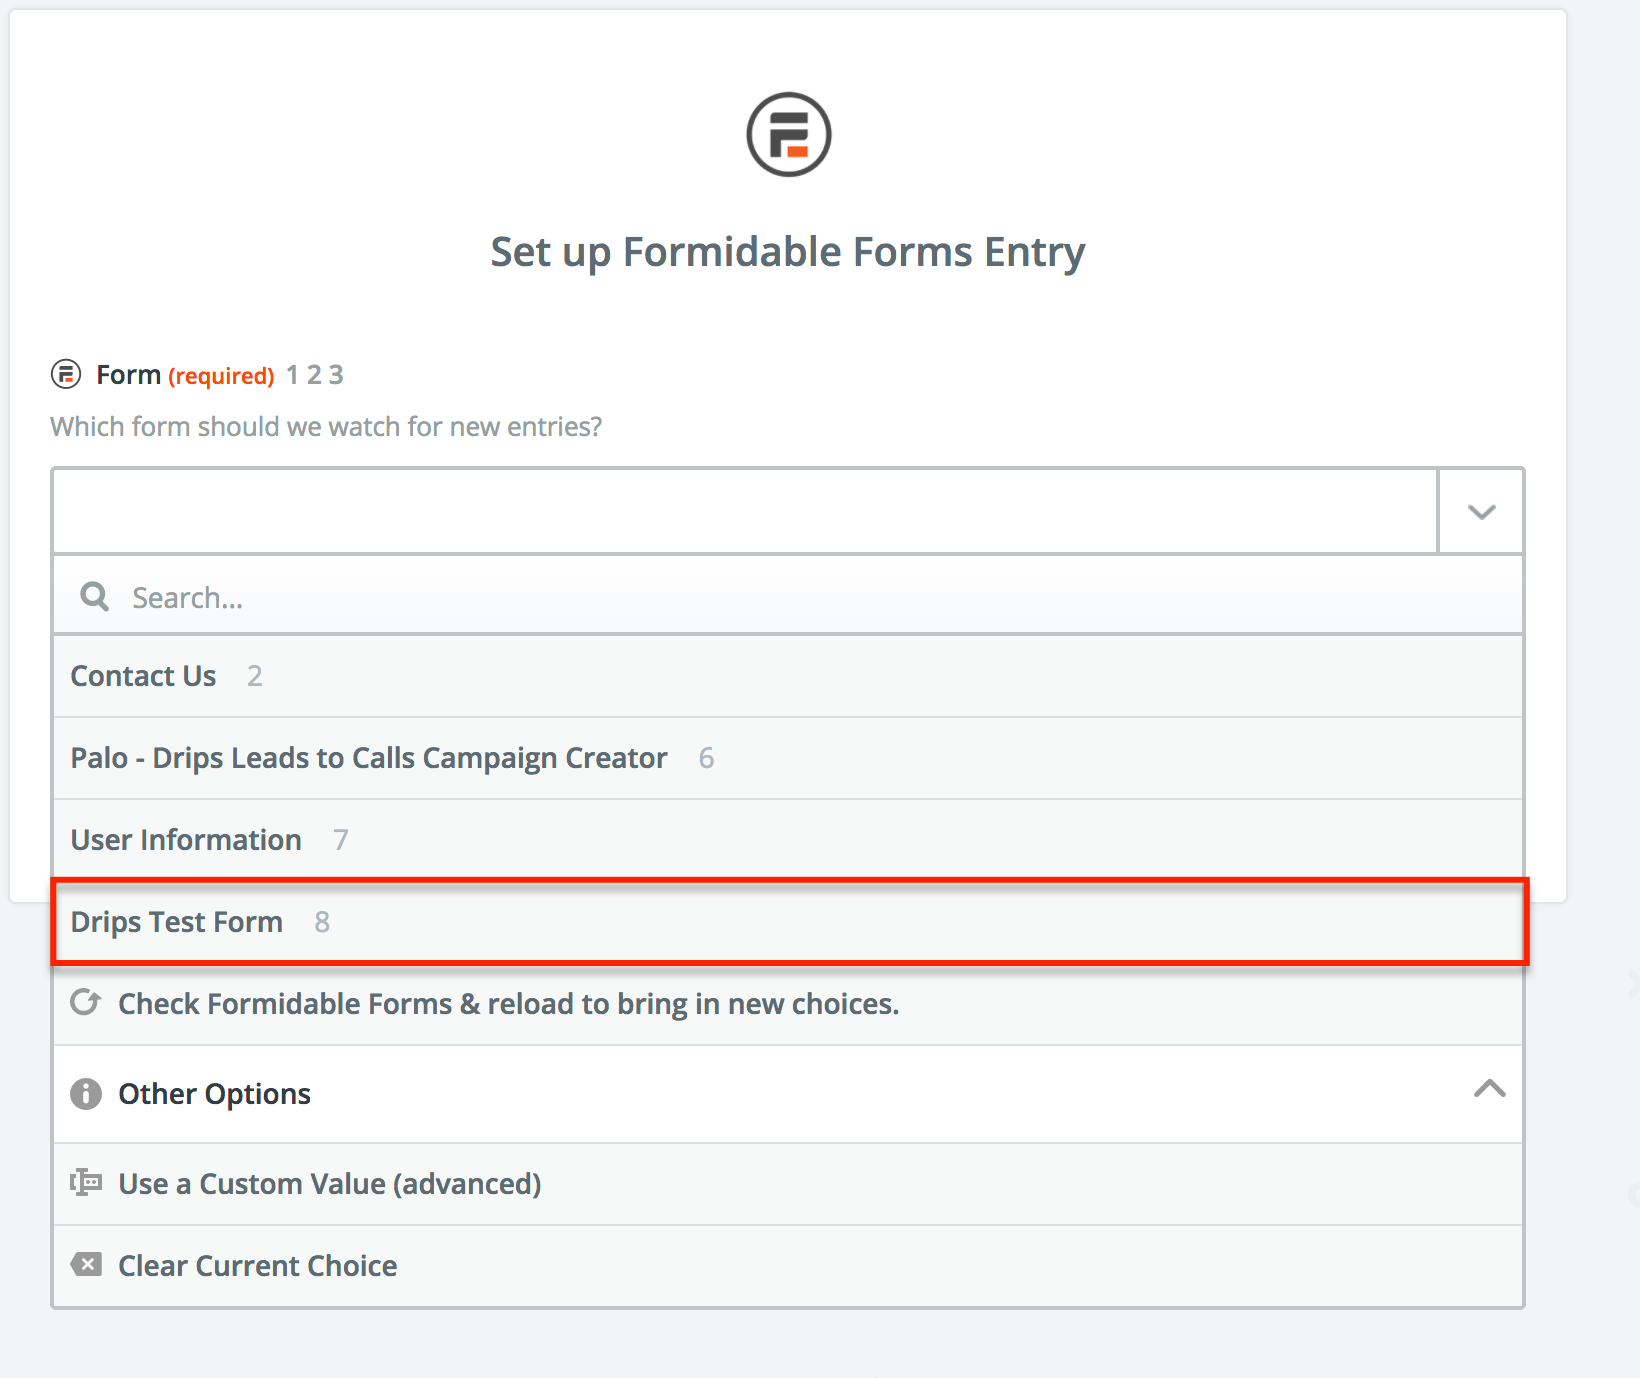
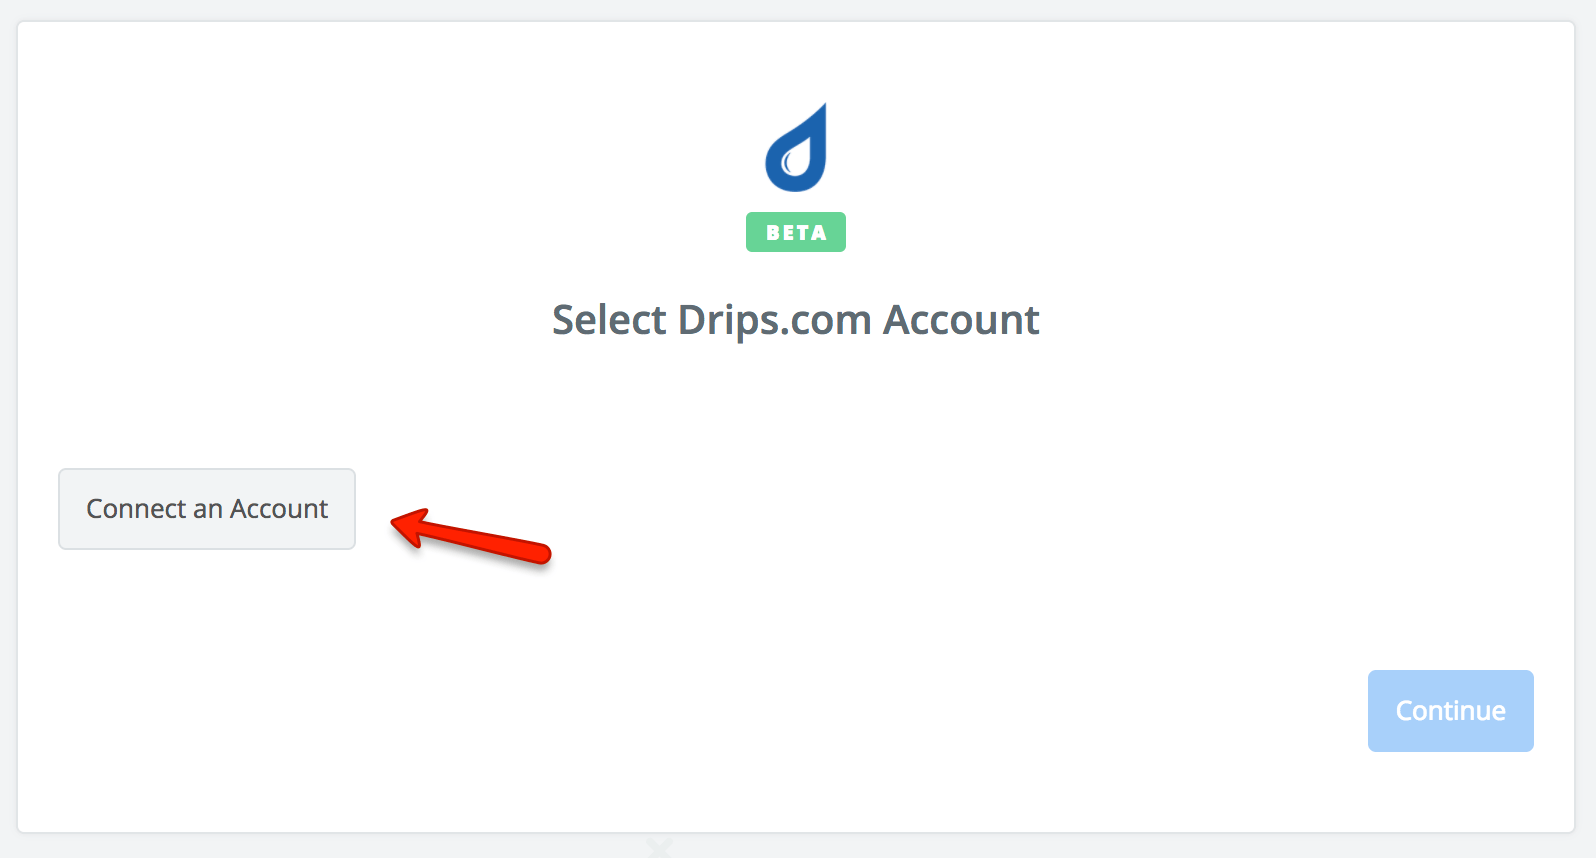
6. You can see my drips test form is ready and waiting. Go ahead and select your form and then click continue.
We need to verify that data is flowing into our new form properly. Normally, I tend to skip this step and come back to it after the setup process is about complete. But in this example, I’m going to do this step, so you can see it fail.
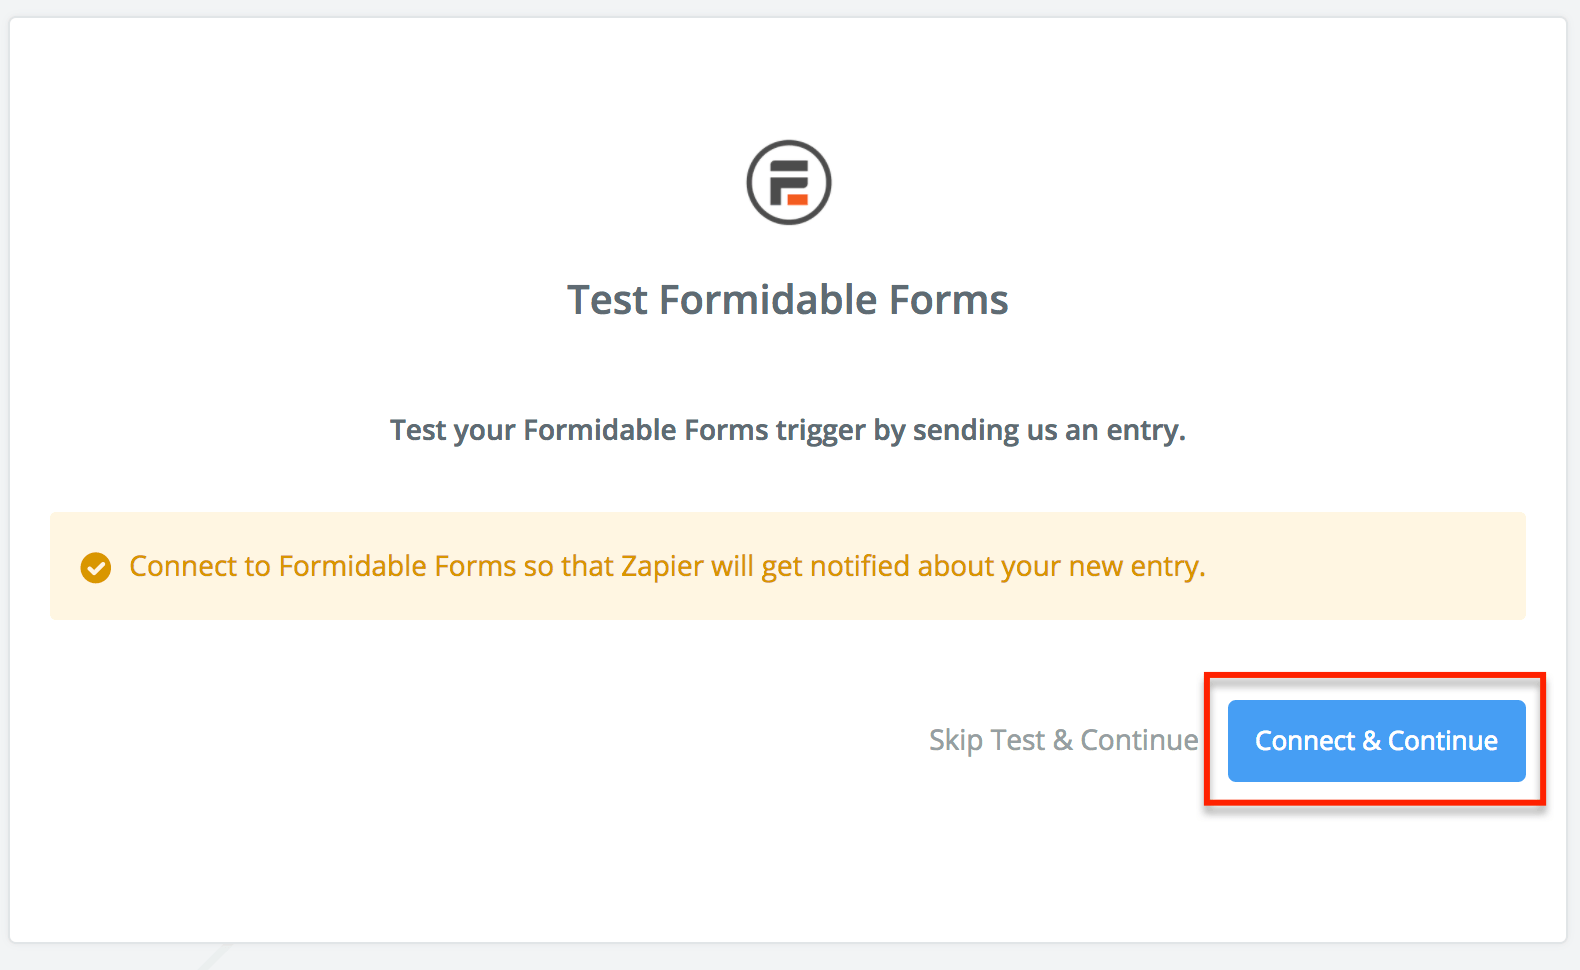
7. Click Connect & Continue
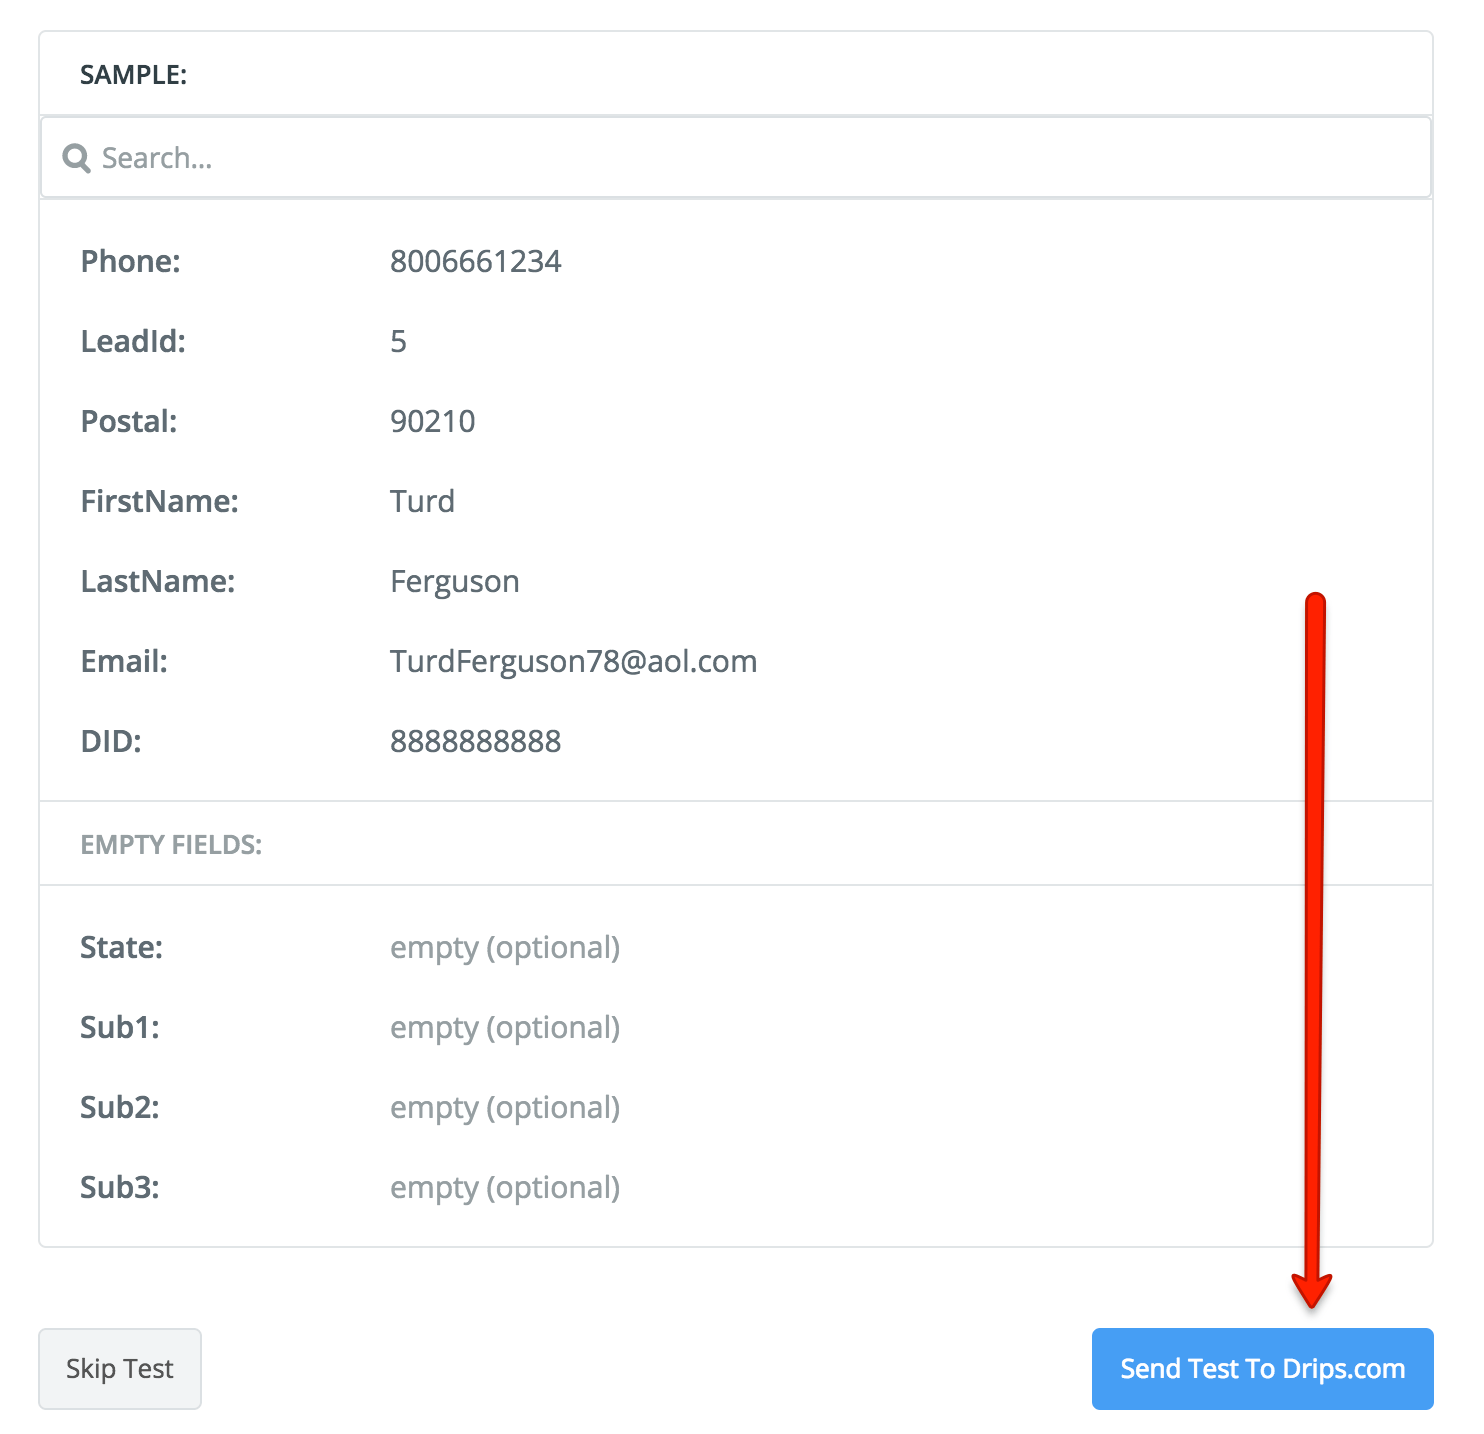
Here’s my drips form filled out with test data, prior to hitting the submit button.

8. Once I’ve hit submit (go ahead and hit submit on your form), then I’ll bounce back over to the zap and hit the connect and continue button.

9. If you find zapier hanging up while it attempts to fetch your data, then skip this step by refreshing your browser and hitting skip test and continue. We’ll circle back.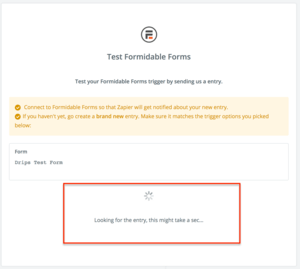
I clicked Skip Test & Continue after my initial attempt to get Zapier to pull in my data failed.

Part 2 – DRIPS Integration
We can now can move into the Drips configuration. We’ll tighten up our loose end from the previous step, once we’ve got DRIPS out of the way.
10. With DRIPS.com highlighted, scroll down to the bottom of the page and click continue.
11. Go ahead and click continue on this page.
12. The next few steps are critical. We’ll need to supply our Drips API Source Token, which should have been provided to you by Palo.
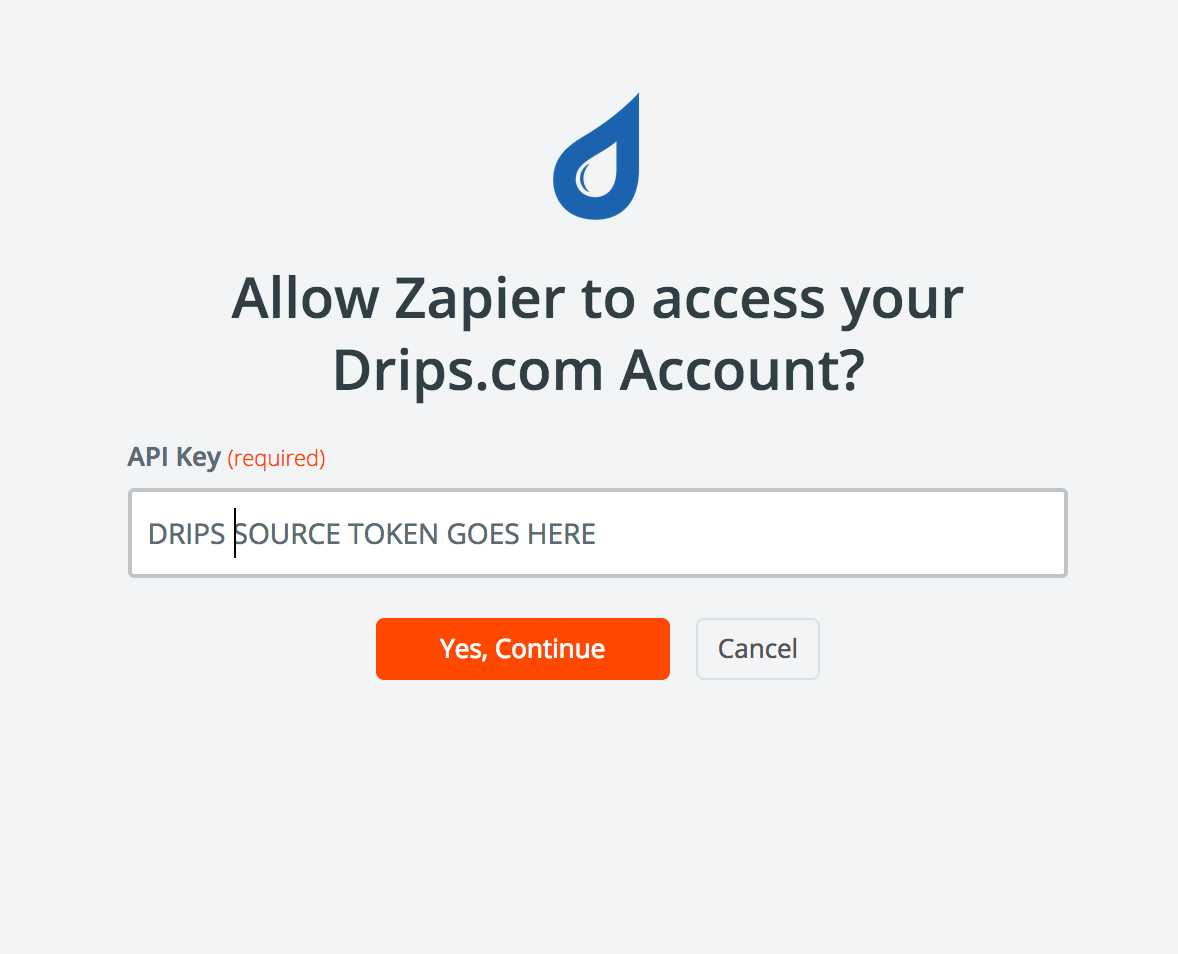
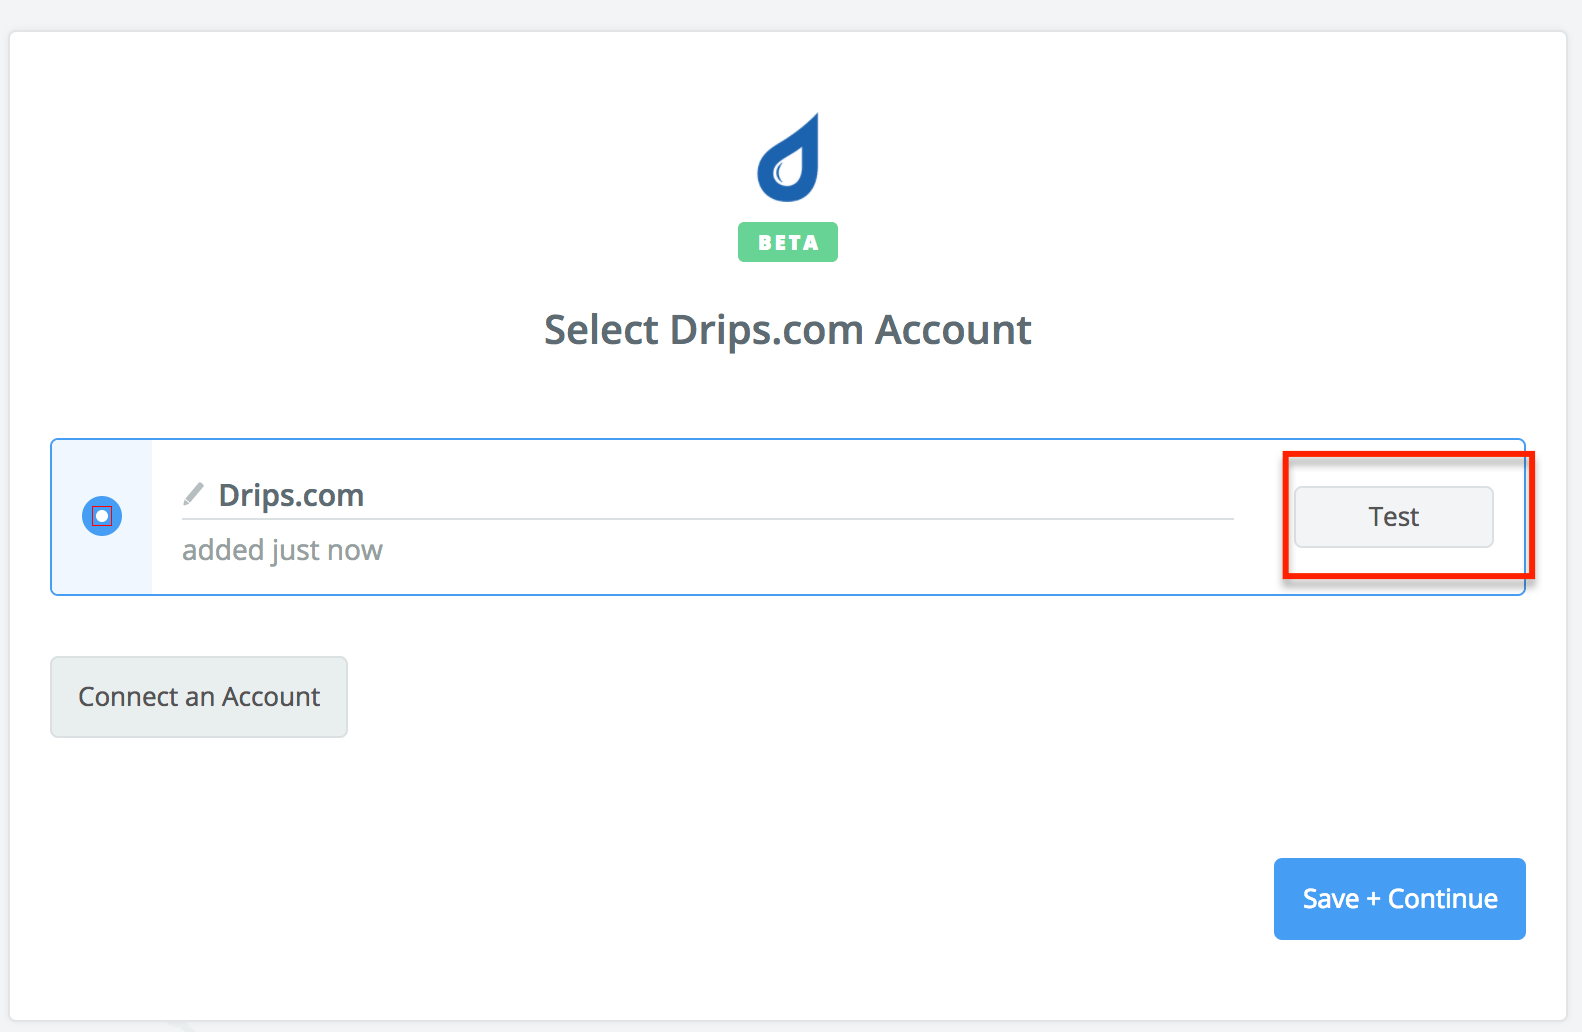
13. I went ahead and plugged in a source token from one one of my other campaigns to test. Here’s what the page looks like before and after I hit the test button, using my source token. Click Continue after your test.
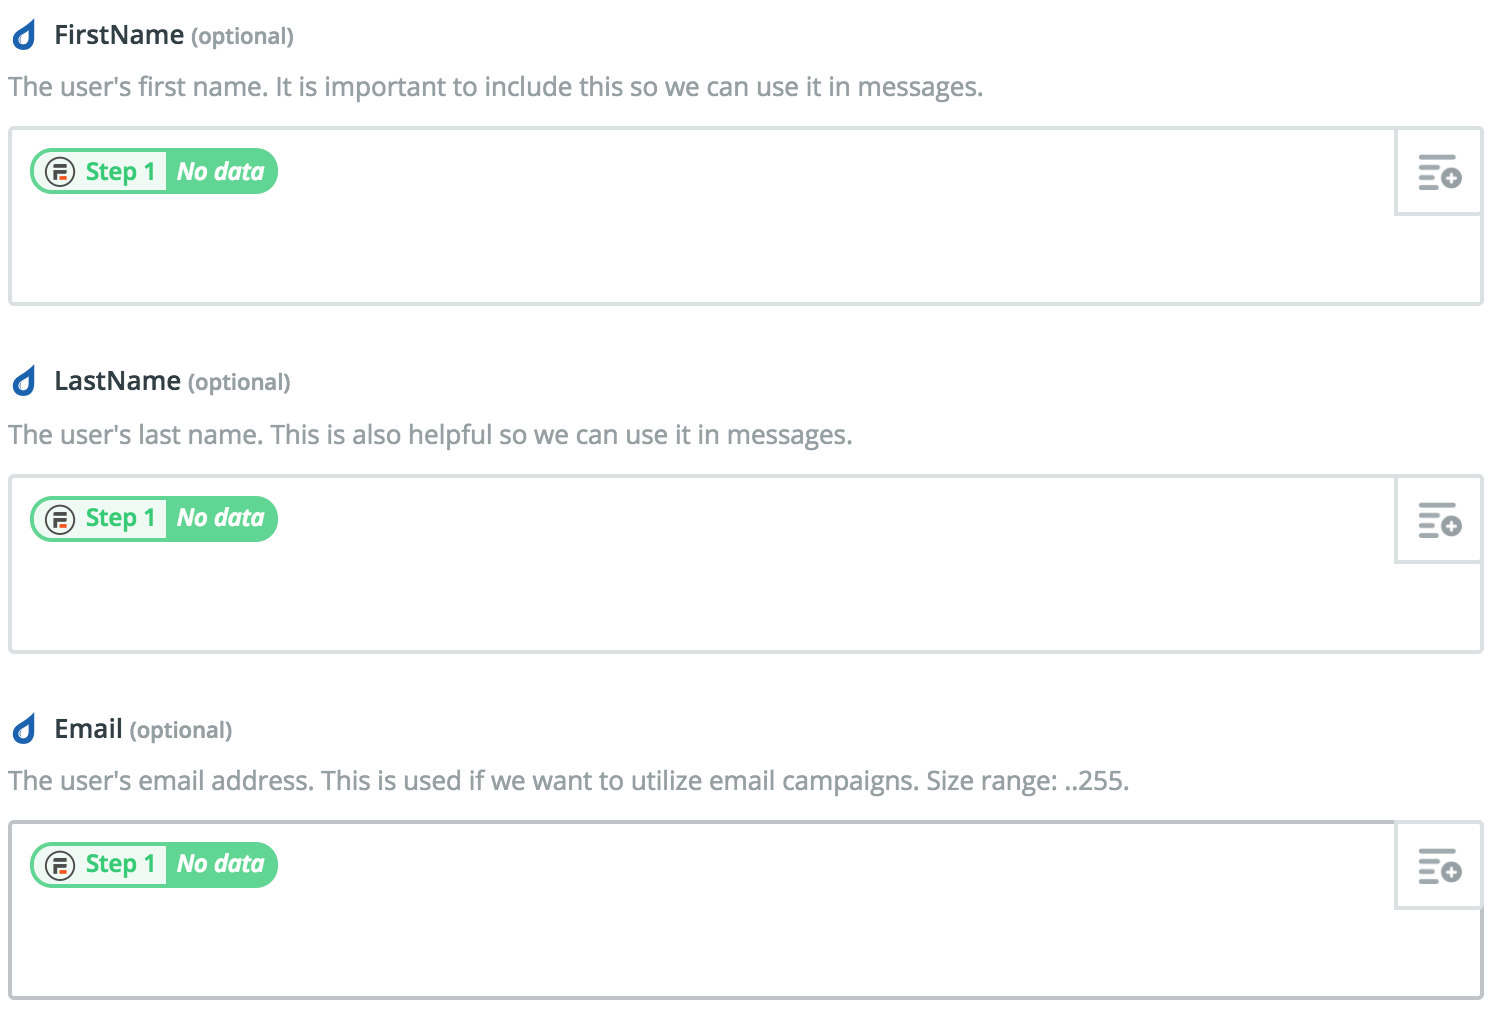
This step allows us to map the form fill data back to DRIPS. Notice all the form options you can send back to drips? There’s a lot you can do with this platform. I’m going to cover all the required elements, so we can get traffic launched quicker.
14. Click the insert field icon on the phone (required) section.
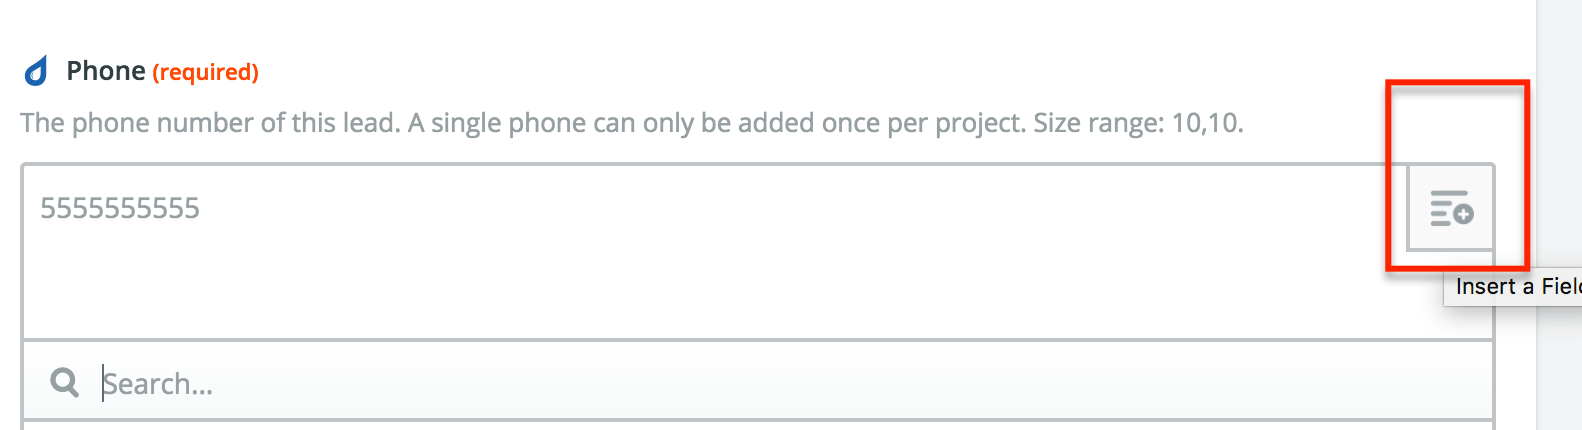
Then map it to the phone like this:
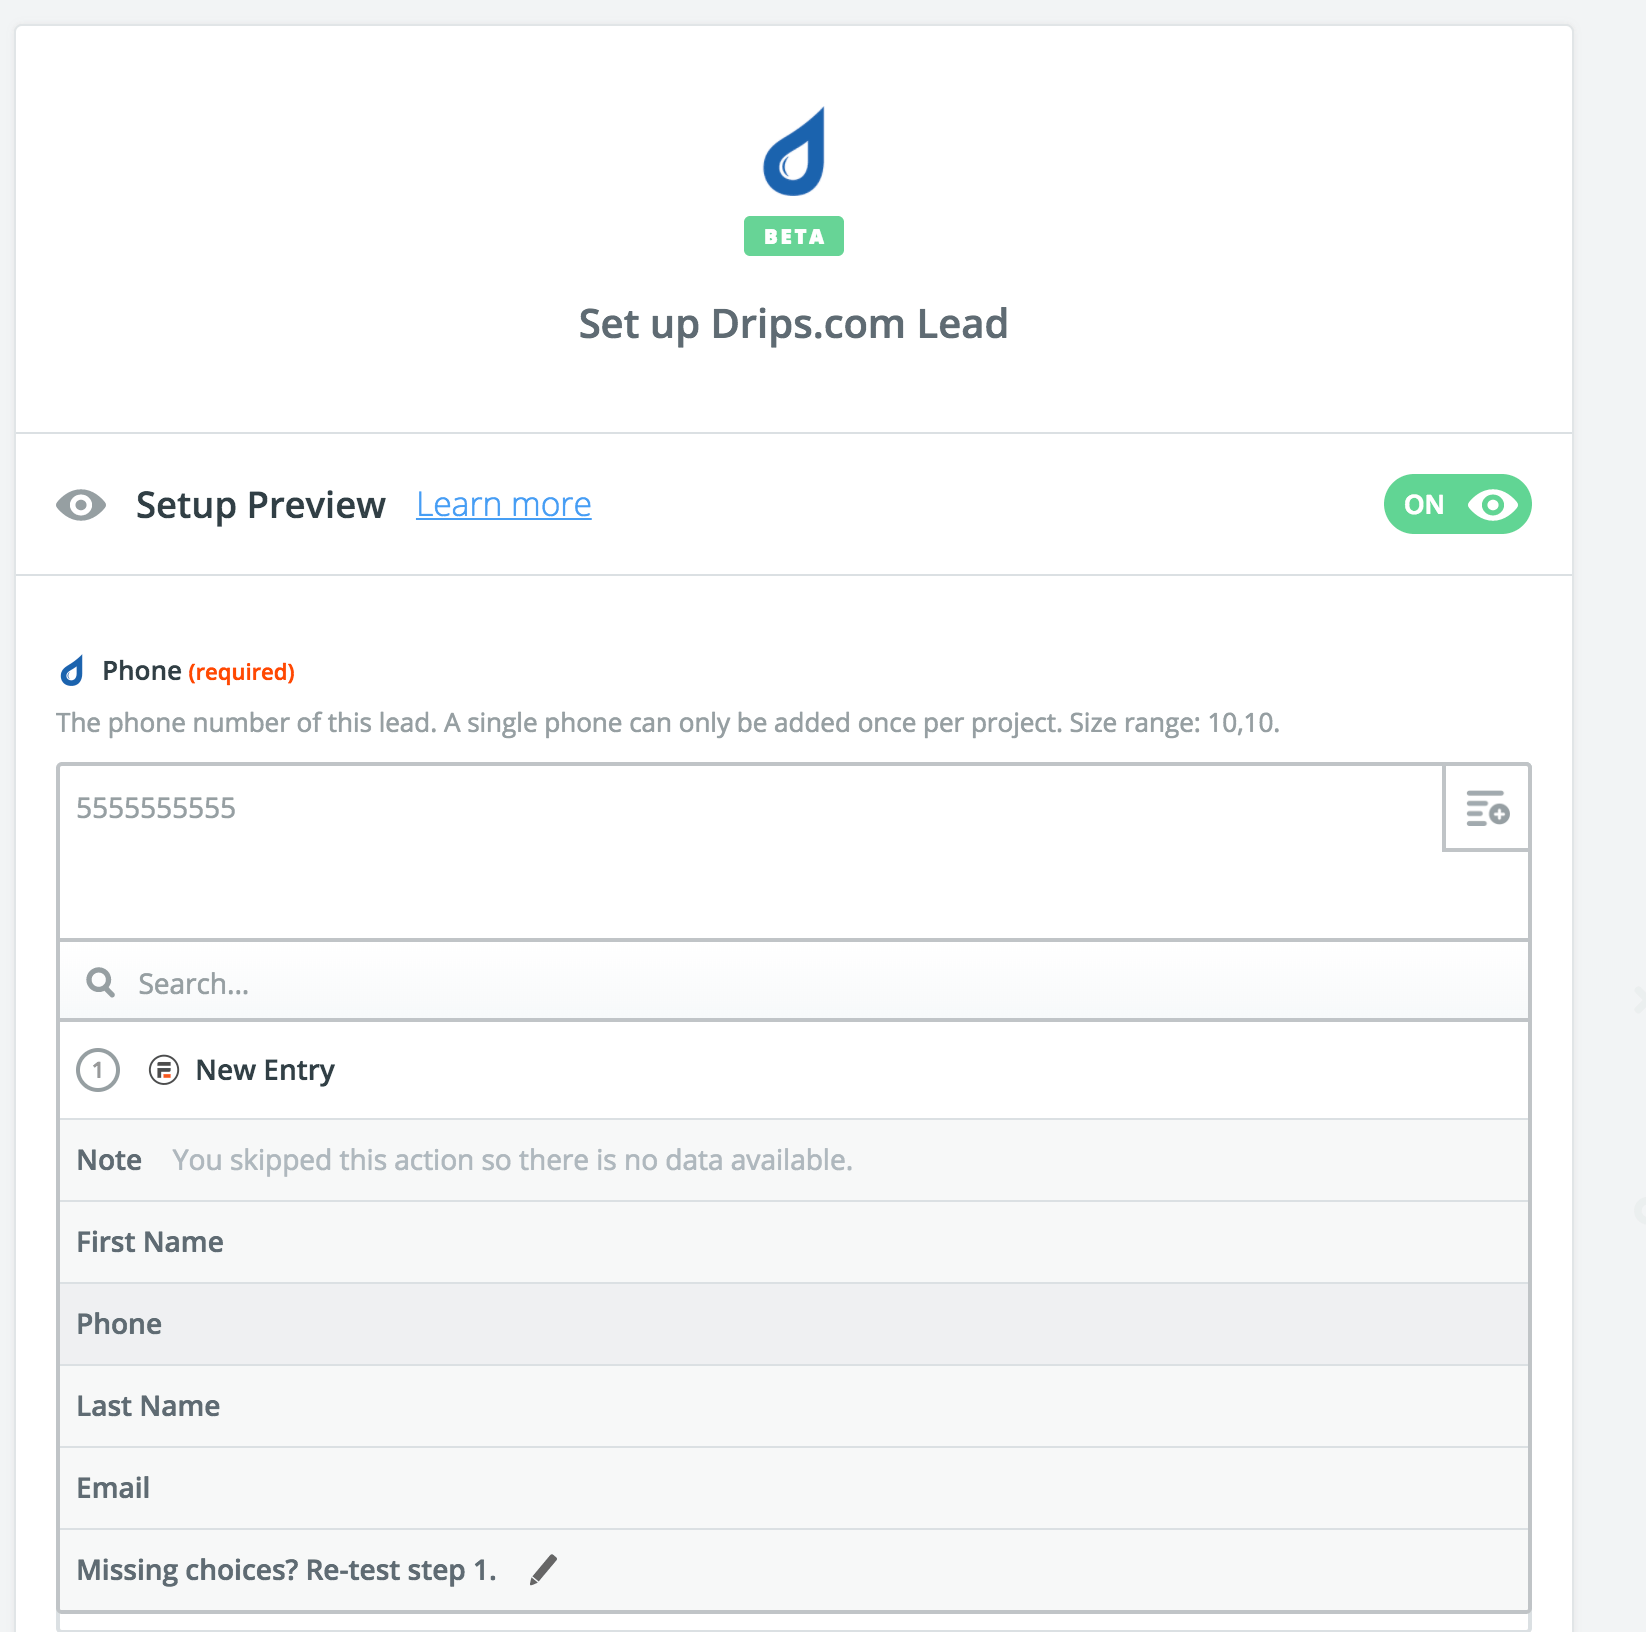
Depending on whether or not your data pulled correctly from earlier steps, then you should see something like this. I had a problem with the data pulling into my zap. Which I’ll show you how to fix before we go live.
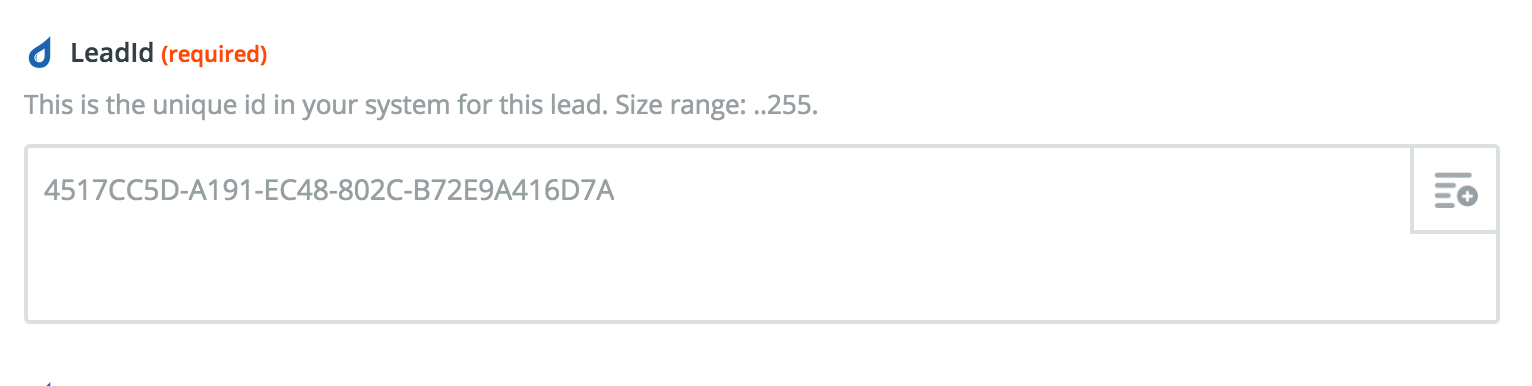
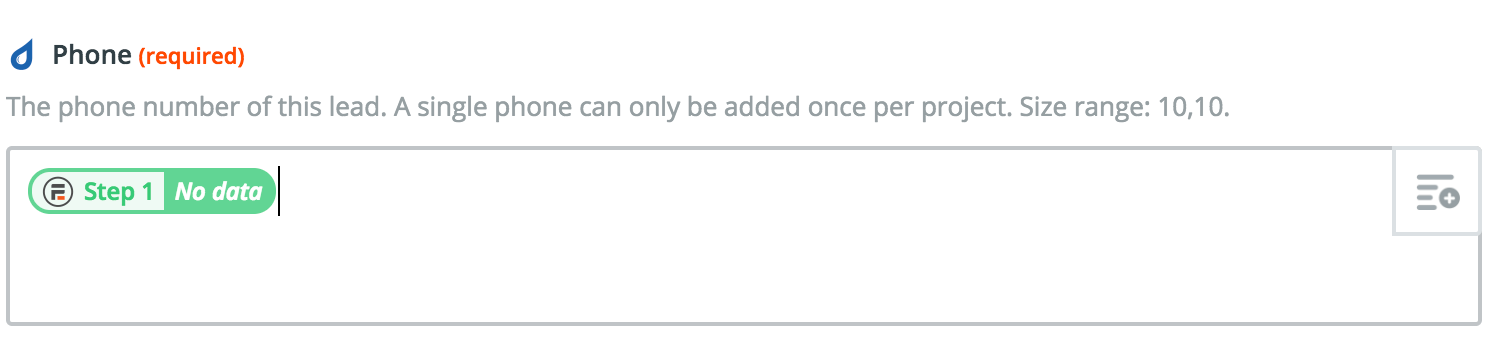 LEADID (required) This section confused me. Long story short, the best thing to do for now is focus on pulling in your test lead data (the step that failed earlier).
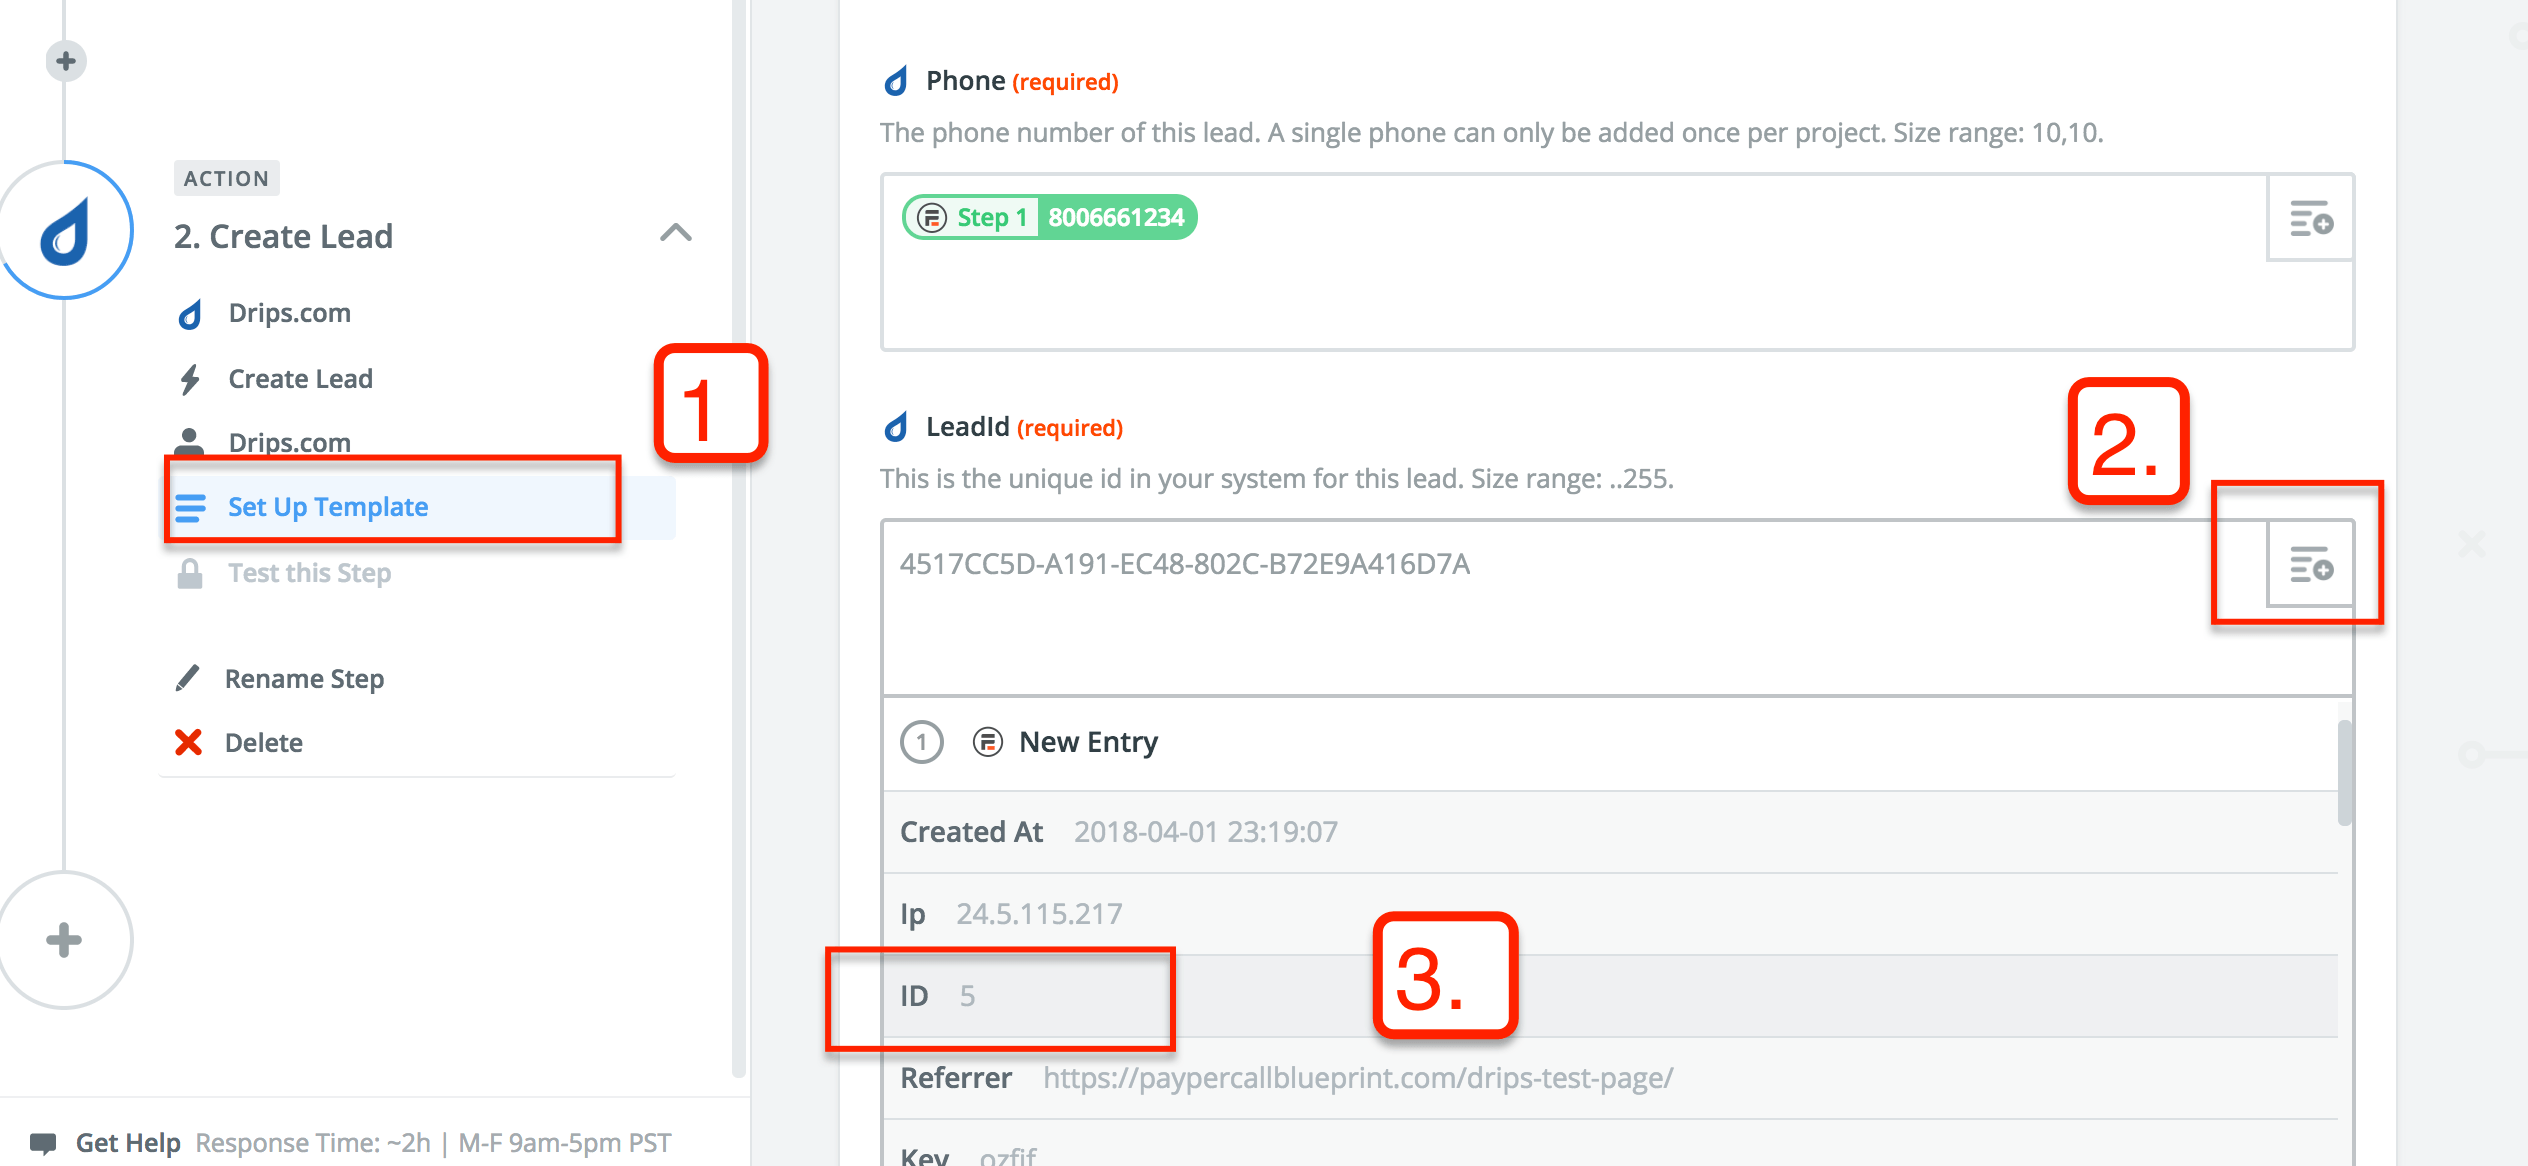
15. Scrolled down to the bottom, where it says missing choice? Re-test step 1.

Which brings you back to the drips form testing section seen below. We need to make this part work now.

16. Click continue.
[thrive_text_block color=”blue” headline=”LeadID”]You might have to return to your form page to fill out and submit another dummy lead. Once the data is pulling in properly then we can find the ID, and map it to LEADID. [/thrive_text_block]

You can also view your entry and see what kind of data is being passed back to zapier through your drips lead form. I have my eye on ID:5. This is a unique ID that relates to the user that filled out the form. This will work for LEADID and make Drips happy.

17. Return back to the DRIPS template by clicking ‘setup drips’ and then add the ID to the leadID section.
Make sure you map everything you can. I finished up with first name, last name, email address.
18. CLICK CONTINUE
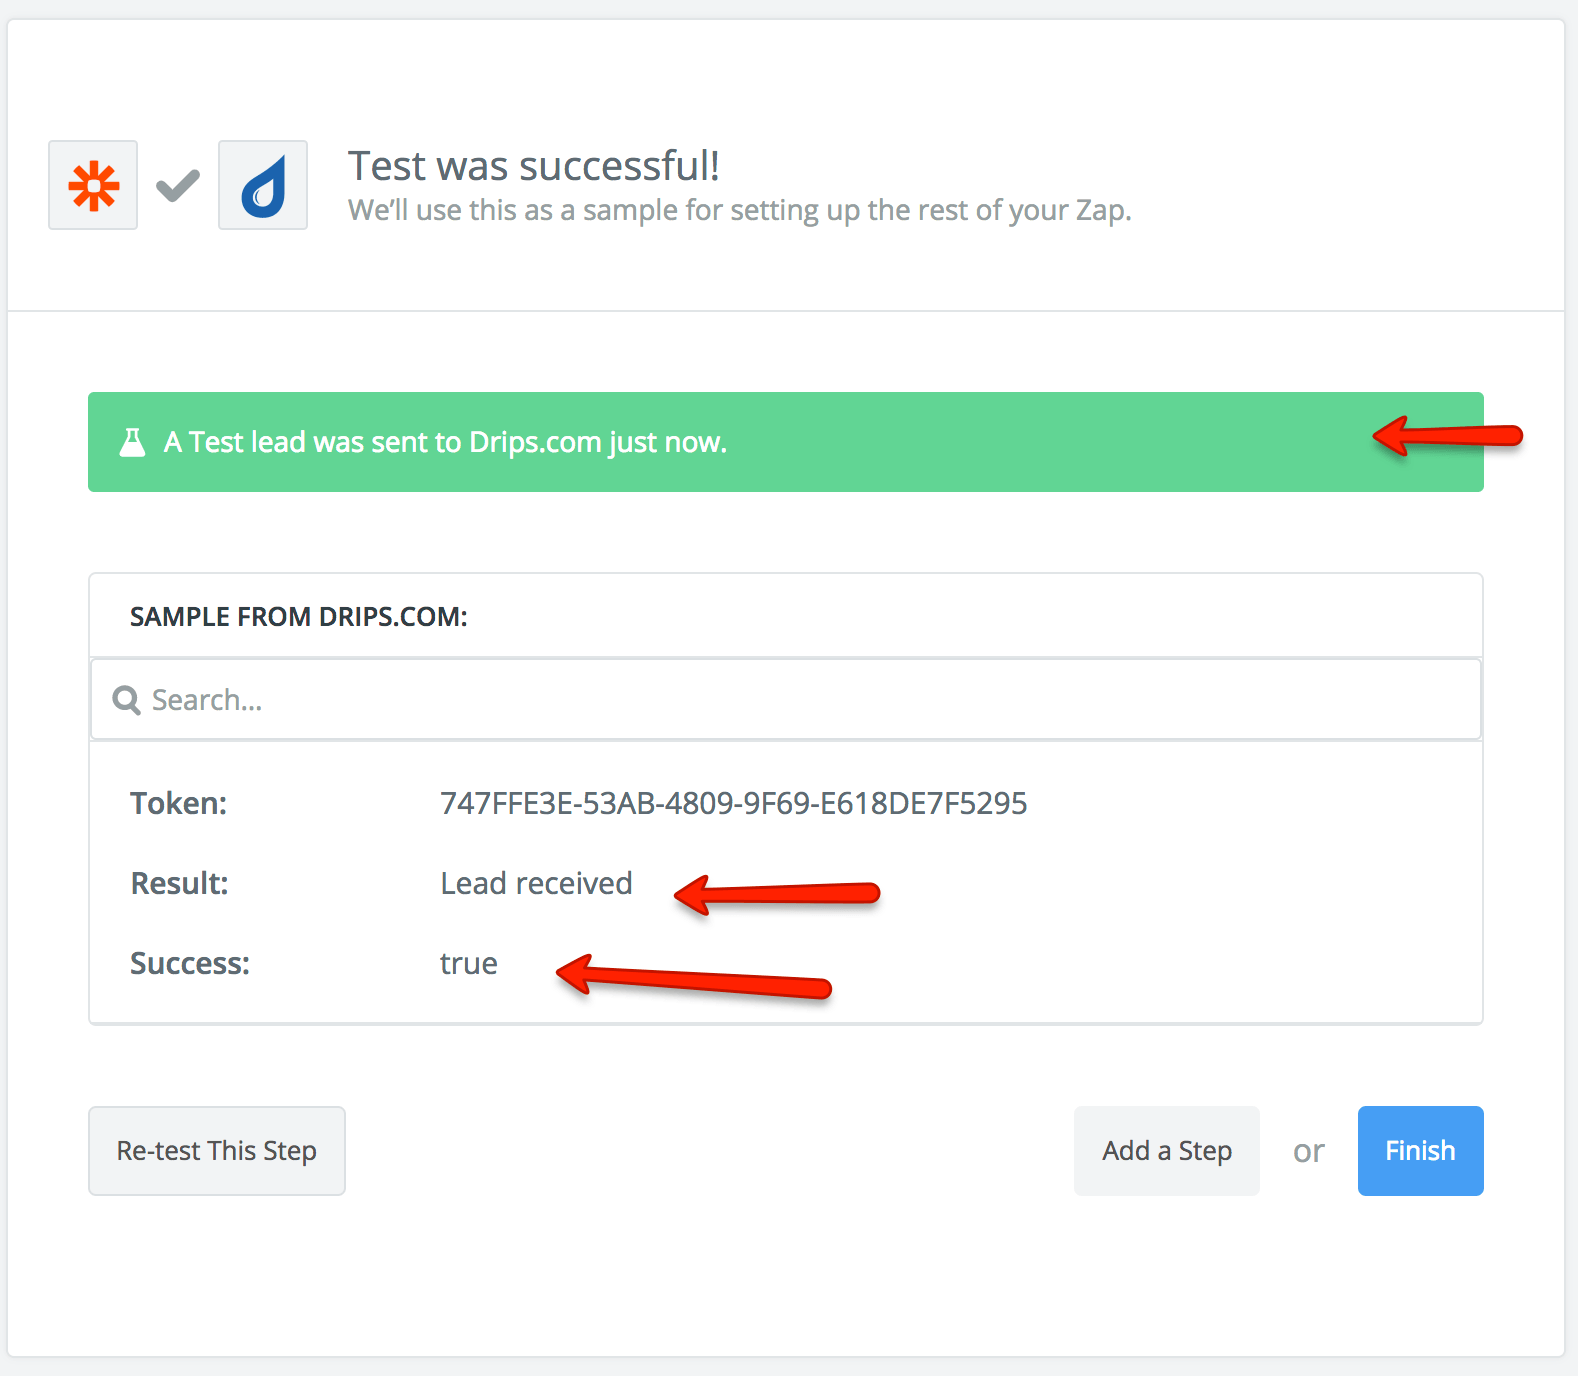
19. Send a test lead back to drips.
And you should get some positive looking news like this

20. Reach out to your respected Palo account manager after you’ve finished this step. Right now, we have to manually verify the data has reached drips successfully. We are working on individual dashboards for publishers right now. So stay tuned.
![]()
If you are working with me (Gene) then let me know right here.
[formidable id=9]
[/content_container]


